A 15ft Pram for Dinghy Cruising
20170708
20170714
20170715
20170806
20170810
20170811
20170812
20170813
20170818
20170819
20170820
20170821
20170825
20170826
20170827
20170828
20170901
20170902
20170903
20170904
20170909
20170910
20170915
20170916
20170917
20170918
20170921
20170923
20170924
20170927
20170928
20170929
20171001
20171006
<<
20171006 |
20171005Today I rose early to laminate two layers of the rudder and daggerboard. While I was laminating most of the commuters were stuck in traffic jams because it was the first gale of the season. I used about 240g of glue. When the glue has set I will add the final layer of plywood to the rudder and daggerboard. This will bring the thickness of the blanks to 24mm. Finally I will round the forward edge (8cm) and taper the aft edge (10cm) and wrap the foils in 280g glass cloth.20171006Richard helped to cover the hull in epoxy and 160g glass cloth. First we sanded the hull and marked the low spots for extra filler. Eventually we forgot about the filler and started laminating the precut glass on the starboard side of the hull. We worked from the bottom to the sides. Laminating the glass onto the bottom and garboard panels went smoothly. We used a broad brush to apply the epoxy and Colad squeegees to spread it around. We used a metal roller to squeeze out the air bubbles. We made 4 vertical cuts in the side and topside panels to get rid of the folds. We spent 2 hours laminating and used about 1.8kg of epoxy (resin and hardener). I was happy that Richard helped out. It would have taken me about 6 hours if I had worked singlehandedly. 20171006_IMG_0265.jpg 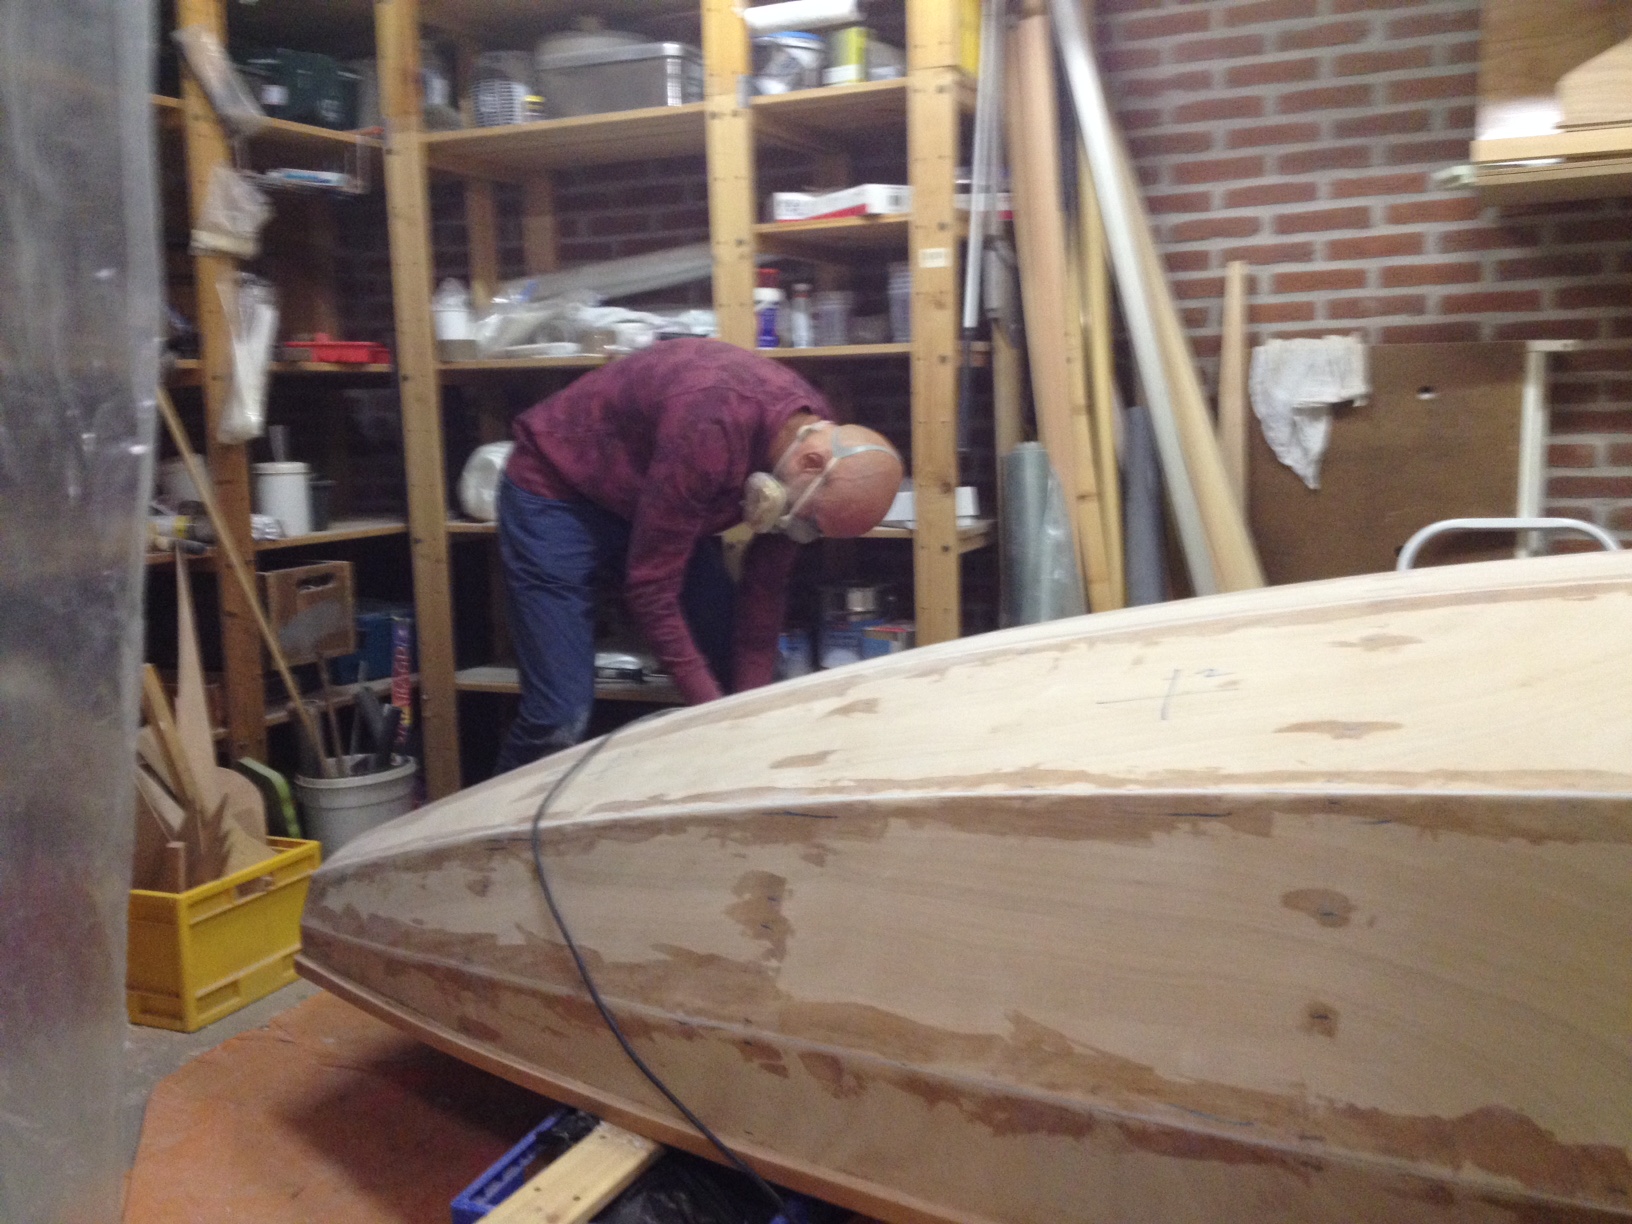 20171006_IMG_0266.JPG Richard sanding the hull. 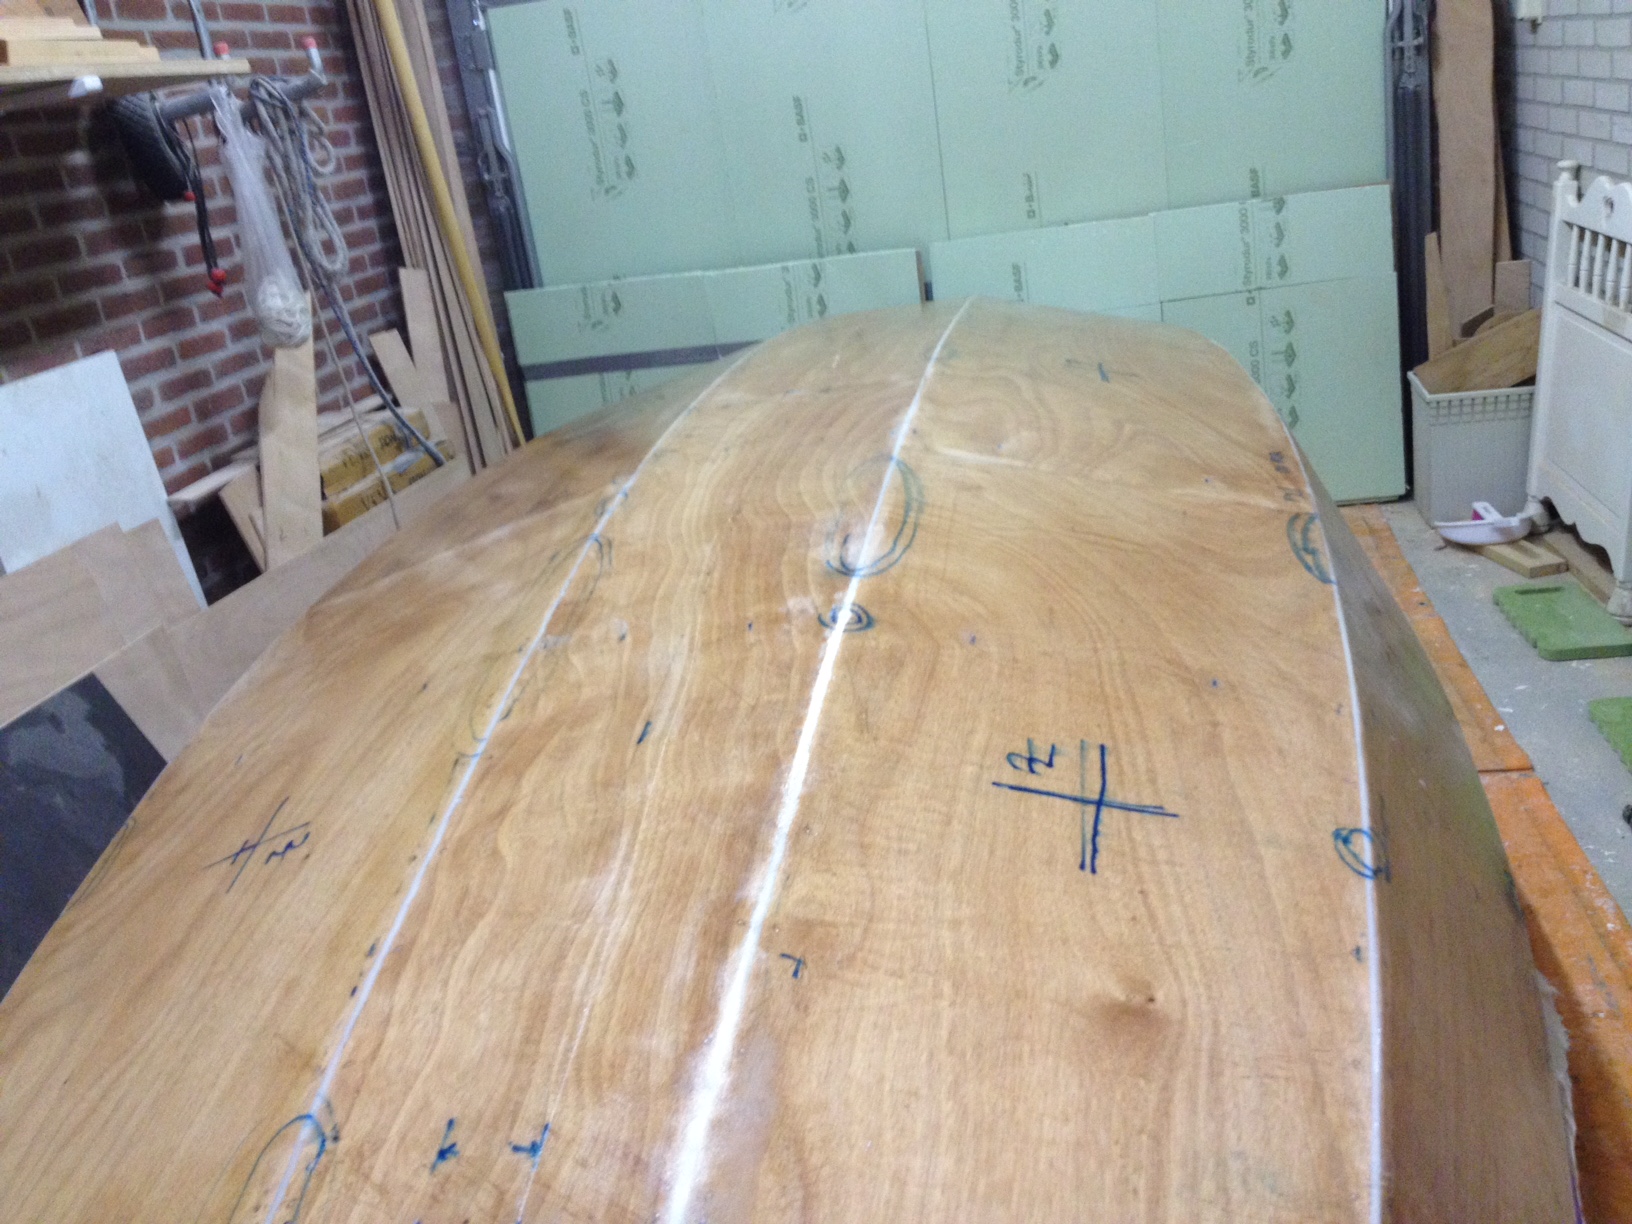 20171006_IMG_0268.JPG After glassing the hull. |