A 15ft Pram for Dinghy Cruising
20180625
20180626
20180627
20180628
20180629
20180902
20180915
20181014
20190208
20190422
20190510
20190511
20190512
20190525
20190601
20190803
20190804
20190805
20190807
20190811
20190819
20190820
20190821
20190822
20190823
20190828
20190908
20190922
20200216
20200603
20200612
20200712
20200718
20200719
20200727
20200822
20200905
20200910
20200911
20200912
20200913
20200920
20210305
20210509
20210724
20210905
20210912
20211003
20220430
20220508
20220603
20220618
20220821
20220828
20220904
20220911
20221009
20230423
20230520
20230528
20230625
20230805
20230806
20230810
20230903
20230906
20230910
20230911
20231001
20231008
20240423
20240515
20240603
20240614
20240623
20240710
20240714
20240716
20240720
20240723
20240725
20240726
20240727
20240730
20240908
20240915
20240929
20241007
20241019
20241021
20241110
20250420
20250421
20250422
20250428
20250504
20250505
20250622
20250630
20250707
20250716
20250717
20250718
20250719
20250720
20250721
20250724
20250725
20250825
20250907
20250910
20251019
<<
>>
20200712 |
Galley BoxSince cooking on Hatseflats had proved rather precarious I decided to get myself a cooking box. Searching the internet for ready-made products only produced many images of home grown cooking boxes. So I decided to roll my own as well despite the fact that the sailing season had already started. I designed the box around the burner, the Bialetti coffee pot, a frying pan and a pan for boiling. First the box should stabilize the burner by providing a shelf with a hole to fixate a Campingaz Bleuet C206 burner. Secondly the box should stabilize the 'burnee' by providing a rack to fit the coffee pot, frying pan or boiling pan. Now I put the cooking gear, cutlery and some tinned supplies on the kitchen table. I then cut down a cardboard box to hold everything with 1-2 cm to spare in all directions. The next step was to create a prototype from MDF before I would sacrifice my precious 8mm okoume ply. 20200710After the prototype of MDF it was time to create the real box from 8mm ply. For this I created three templates: one shelf/divider/spacer/front, one side of the box and one side of the lid. With the router I cut 4 sides of the lid, 2 sides and the shelf, two dividers, front and back from the templates. After I cut the lid and bottom oversized I glued the sides and front to the bottom plate. I used epoxy glue thickened with micro balloons to fill the seams between the sides from the outside.20200711Sanded the outside and glued the heat shields and rails in place.20200712Gave the outside a first coat of epoxy.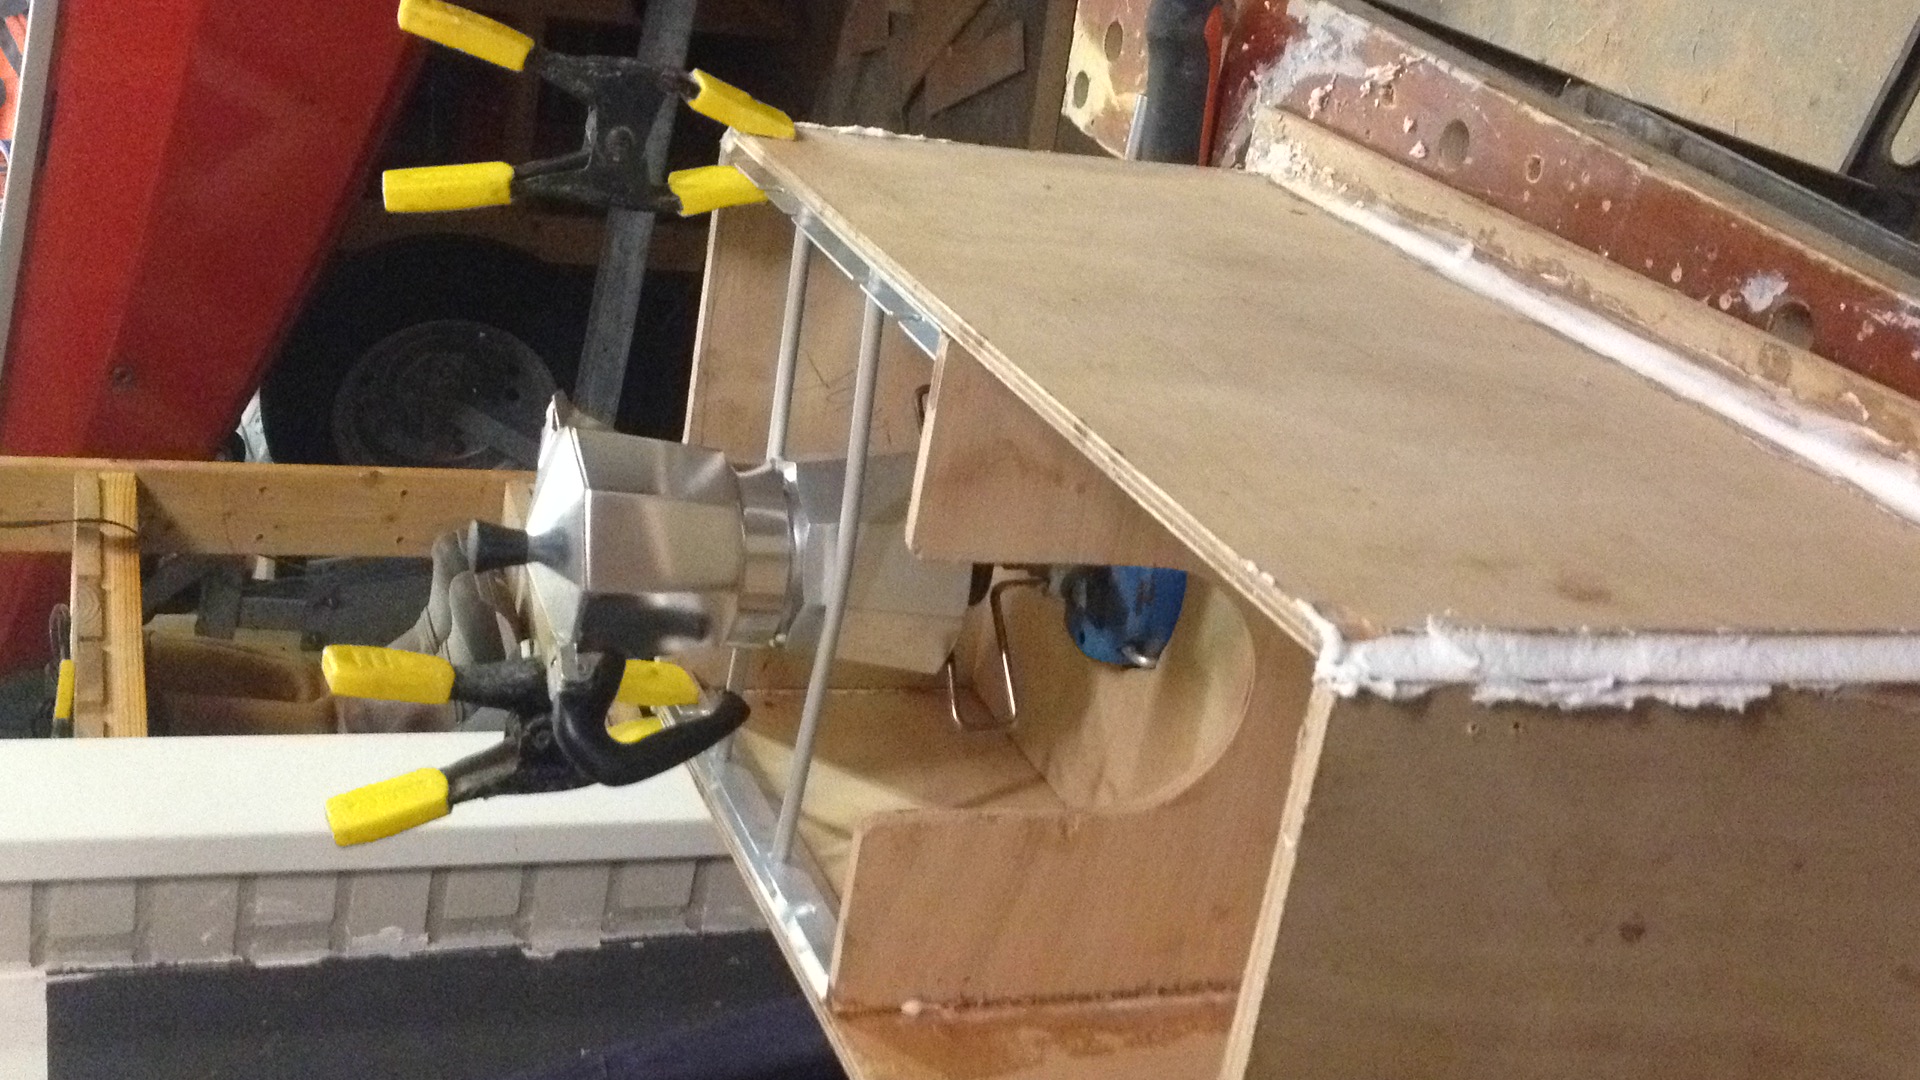 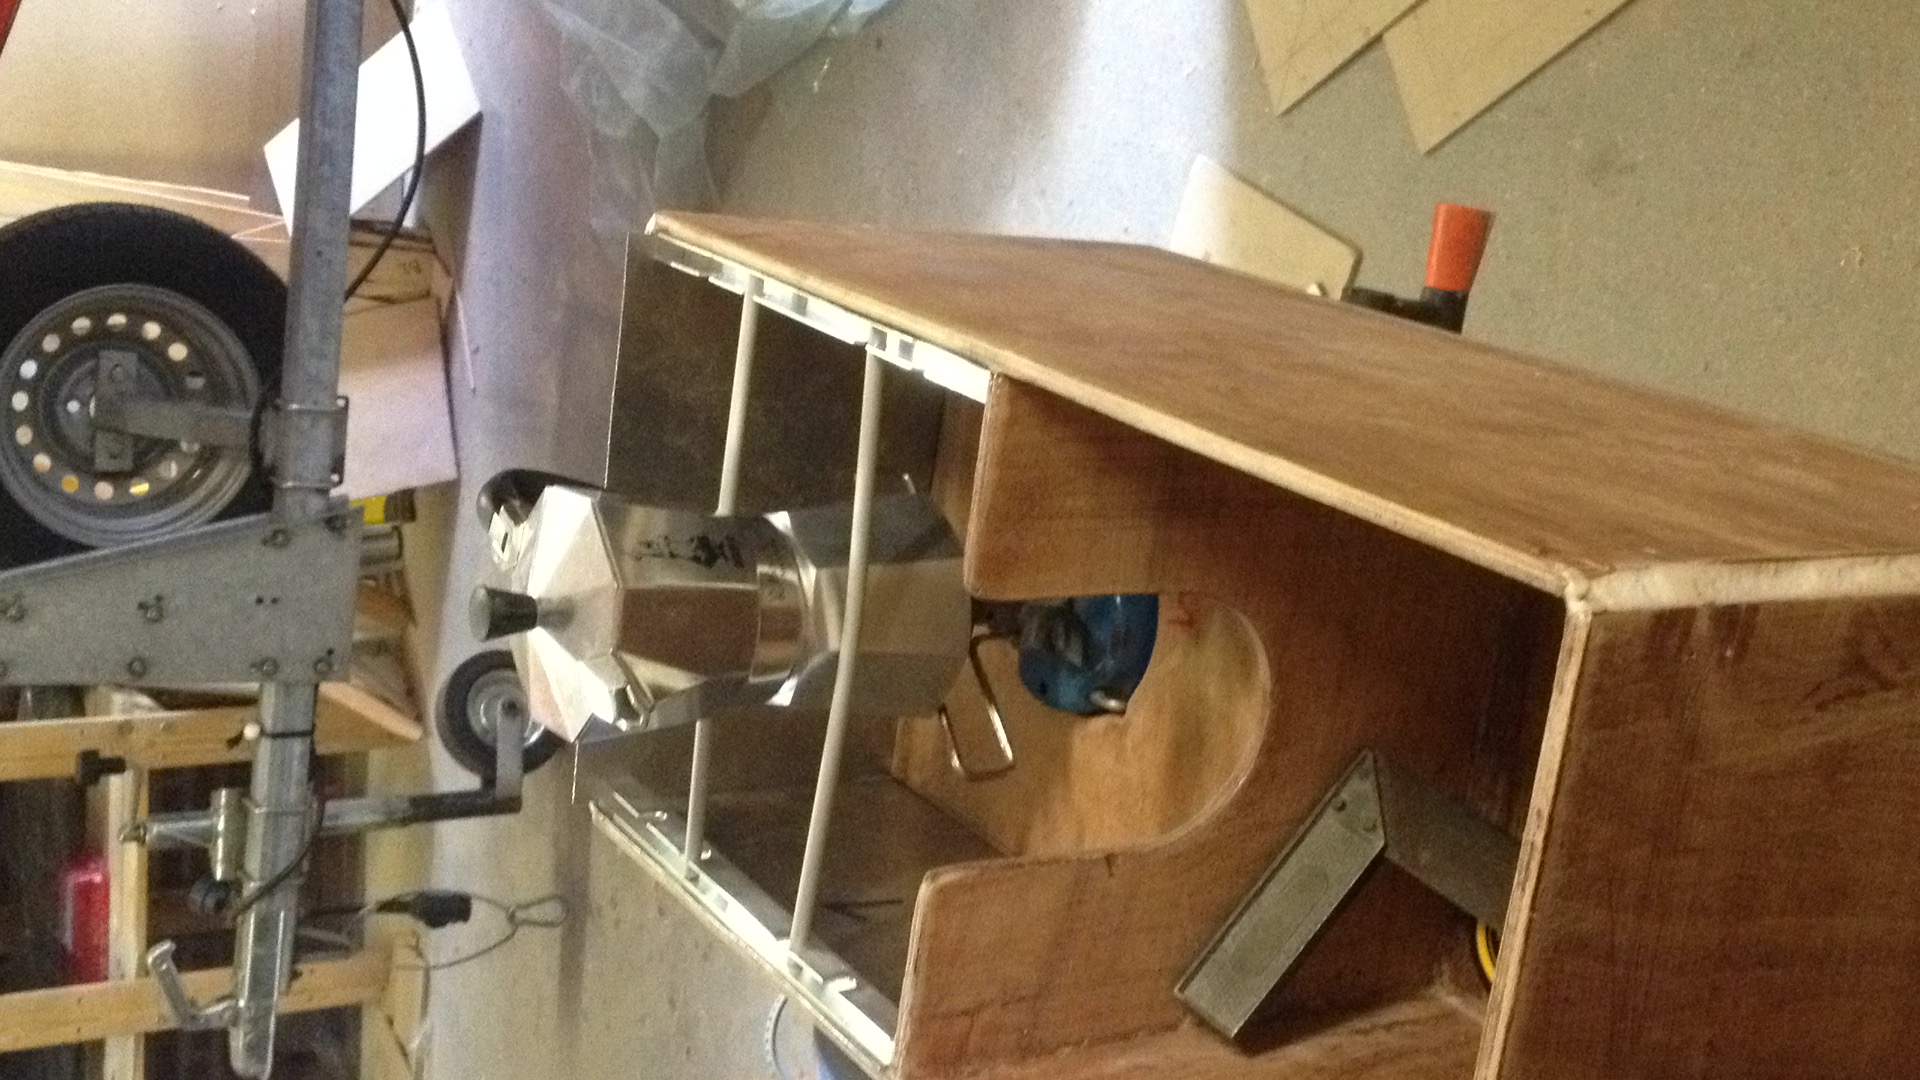 |