A 15ft Pram for Dinghy Cruising
20180625
20180626
20180627
20180628
20180629
20180902
20180915
20181014
20190208
20190422
20190510
20190511
20190512
20190525
20190601
20190803
20190804
20190805
20190807
20190811
20190819
20190820
20190821
20190822
20190823
20190828
20190908
20190922
20200216
20200603
20200612
20200712
20200718
20200719
20200727
20200822
20200905
20200910
20200911
20200912
20200913
20200920
20210305
20210509
20210724
20210905
20210912
20211003
20220430
20220508
20220603
20220618
20220821
20220828
20220904
20220911
20221009
20230423
20230520
20230528
20230625
20230805
20230806
20230810
20230903
20230906
20230910
20230911
20231001
20231008
20240423
20240515
20240603
20240614
20240623
20240710
20240714
20240716
20240720
20240723
20240725
20240726
20240727
20240730
20240908
20240915
20240929
20241007
20241019
20241021
20241110
20250420
20250421
20250422
20250428
20250504
20250505
20250622
20250630
20250707
20250716
20250717
20250718
20250719
20250720
20250721
20250724
20250725
20250825
20250907
20250910
<<
>>
20250630 |
New Oars for Hatseflats Part 1Why new oars?After 7 years of hard use my trusty Lahnakoski oars squeaked alarmingly with every stroke. My friend Joost said that the oarlocks were crying for lubrication. But it was too late. There was so much play between the oarlocks and their sockets that I had to replace them. I went to the Bootbouwer for a new set of bronze oarlocks and sockets but the bronze oar locks for the Lahnakoski oars were not available anymore. What to do?
Joost had a spare set of sockets and square oar locks that I could use.
The sockets were identical to the old ones so fitting them to the gunwales was a piece of cake.
The old oarlocks still fitted the new oarlocks but with some play.
So I had to use them carefully and lubricate them every time with leather grease.
Experimental oars!The easiest solution would have been to repurpose some carbon racing oars for Hatseflats. Racing oars already have collars for square oar locks. However, I am not a great fan of carbon fibre on small boats. You have to treat them really carefully and when they get damaged you end up with the worst possible splinters in your flesh. Joost likes carbon, but indicated that carbon is not so suitable for small and slow boats (sorry Hatseflats). Our small cruising dinghies don't plane and need to have some volume to stow all that gear, so the extra pull from carbon oars simply goes to waste. In order to row comfortably (at a slightly lower pace) you even want the oars to be a little more flexible than my Lahnakoski oars. The starting point for my new oars were the plans that Joost had created in 2018 for the Goat Island Skiff. The benefits of these oars were: slightly more flexible looms for more comfort and spoon blades for rowing with less effort. These plans had been used for years and been proved in practice. Job done, you would say.
However, Joost suggested a little experimentation to greatly simplify the building process.
The original plans required laminating the oar blades from two or three layers of 3mm veneer.
So apart from getting your hands on suitable okoume veneer there was the challenge of laminating the veneers
into the required shape for the spoon blade and carve out the corresponding hollow in the looms to a close fit.
More experimentsI started by creating new blades using an earlier experiment by Joost as a reference. With a length of 60cm and a width of 13cm my blades were going to be only slightly wider than my existing Lahnakoski oars. I did not need extra power but more comfort: I hoped that the spoon shape would mean less strokes and that the narrow blades would be comfortable in waves. Joost and I discussed the shaping of the looms, the end of which was that I would use the online drawings of the oars that Joost had made for the Goat Island Skiff. I used the building notes created by Joost to understand the building process and consulted the drawing for the correct dimensions. Only a couple of changes were required:
However, I inadvertently used the drawing from Duckworks made by Michael Storer. Stupid I know. Because the dimensions in the drawing were slightly different, I used my common sense to work out the dimensions myself. Only today I downloaded the proper drawings by Justin Wimpey. It looks like the dimension in the drawing are not so different from the ones I chose. Lets keep our fingers crossed! DimensionsUnaware that I was not using the correct drawing, I came up with the following dimensions:
Building the blades
Building the looms
Assembling looms and blades
Finishing work
Next steps
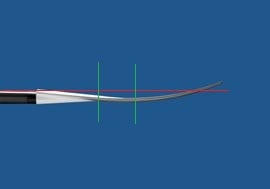 Inspiration for the scooped blade  Flattened mould with widths at every 10cm. 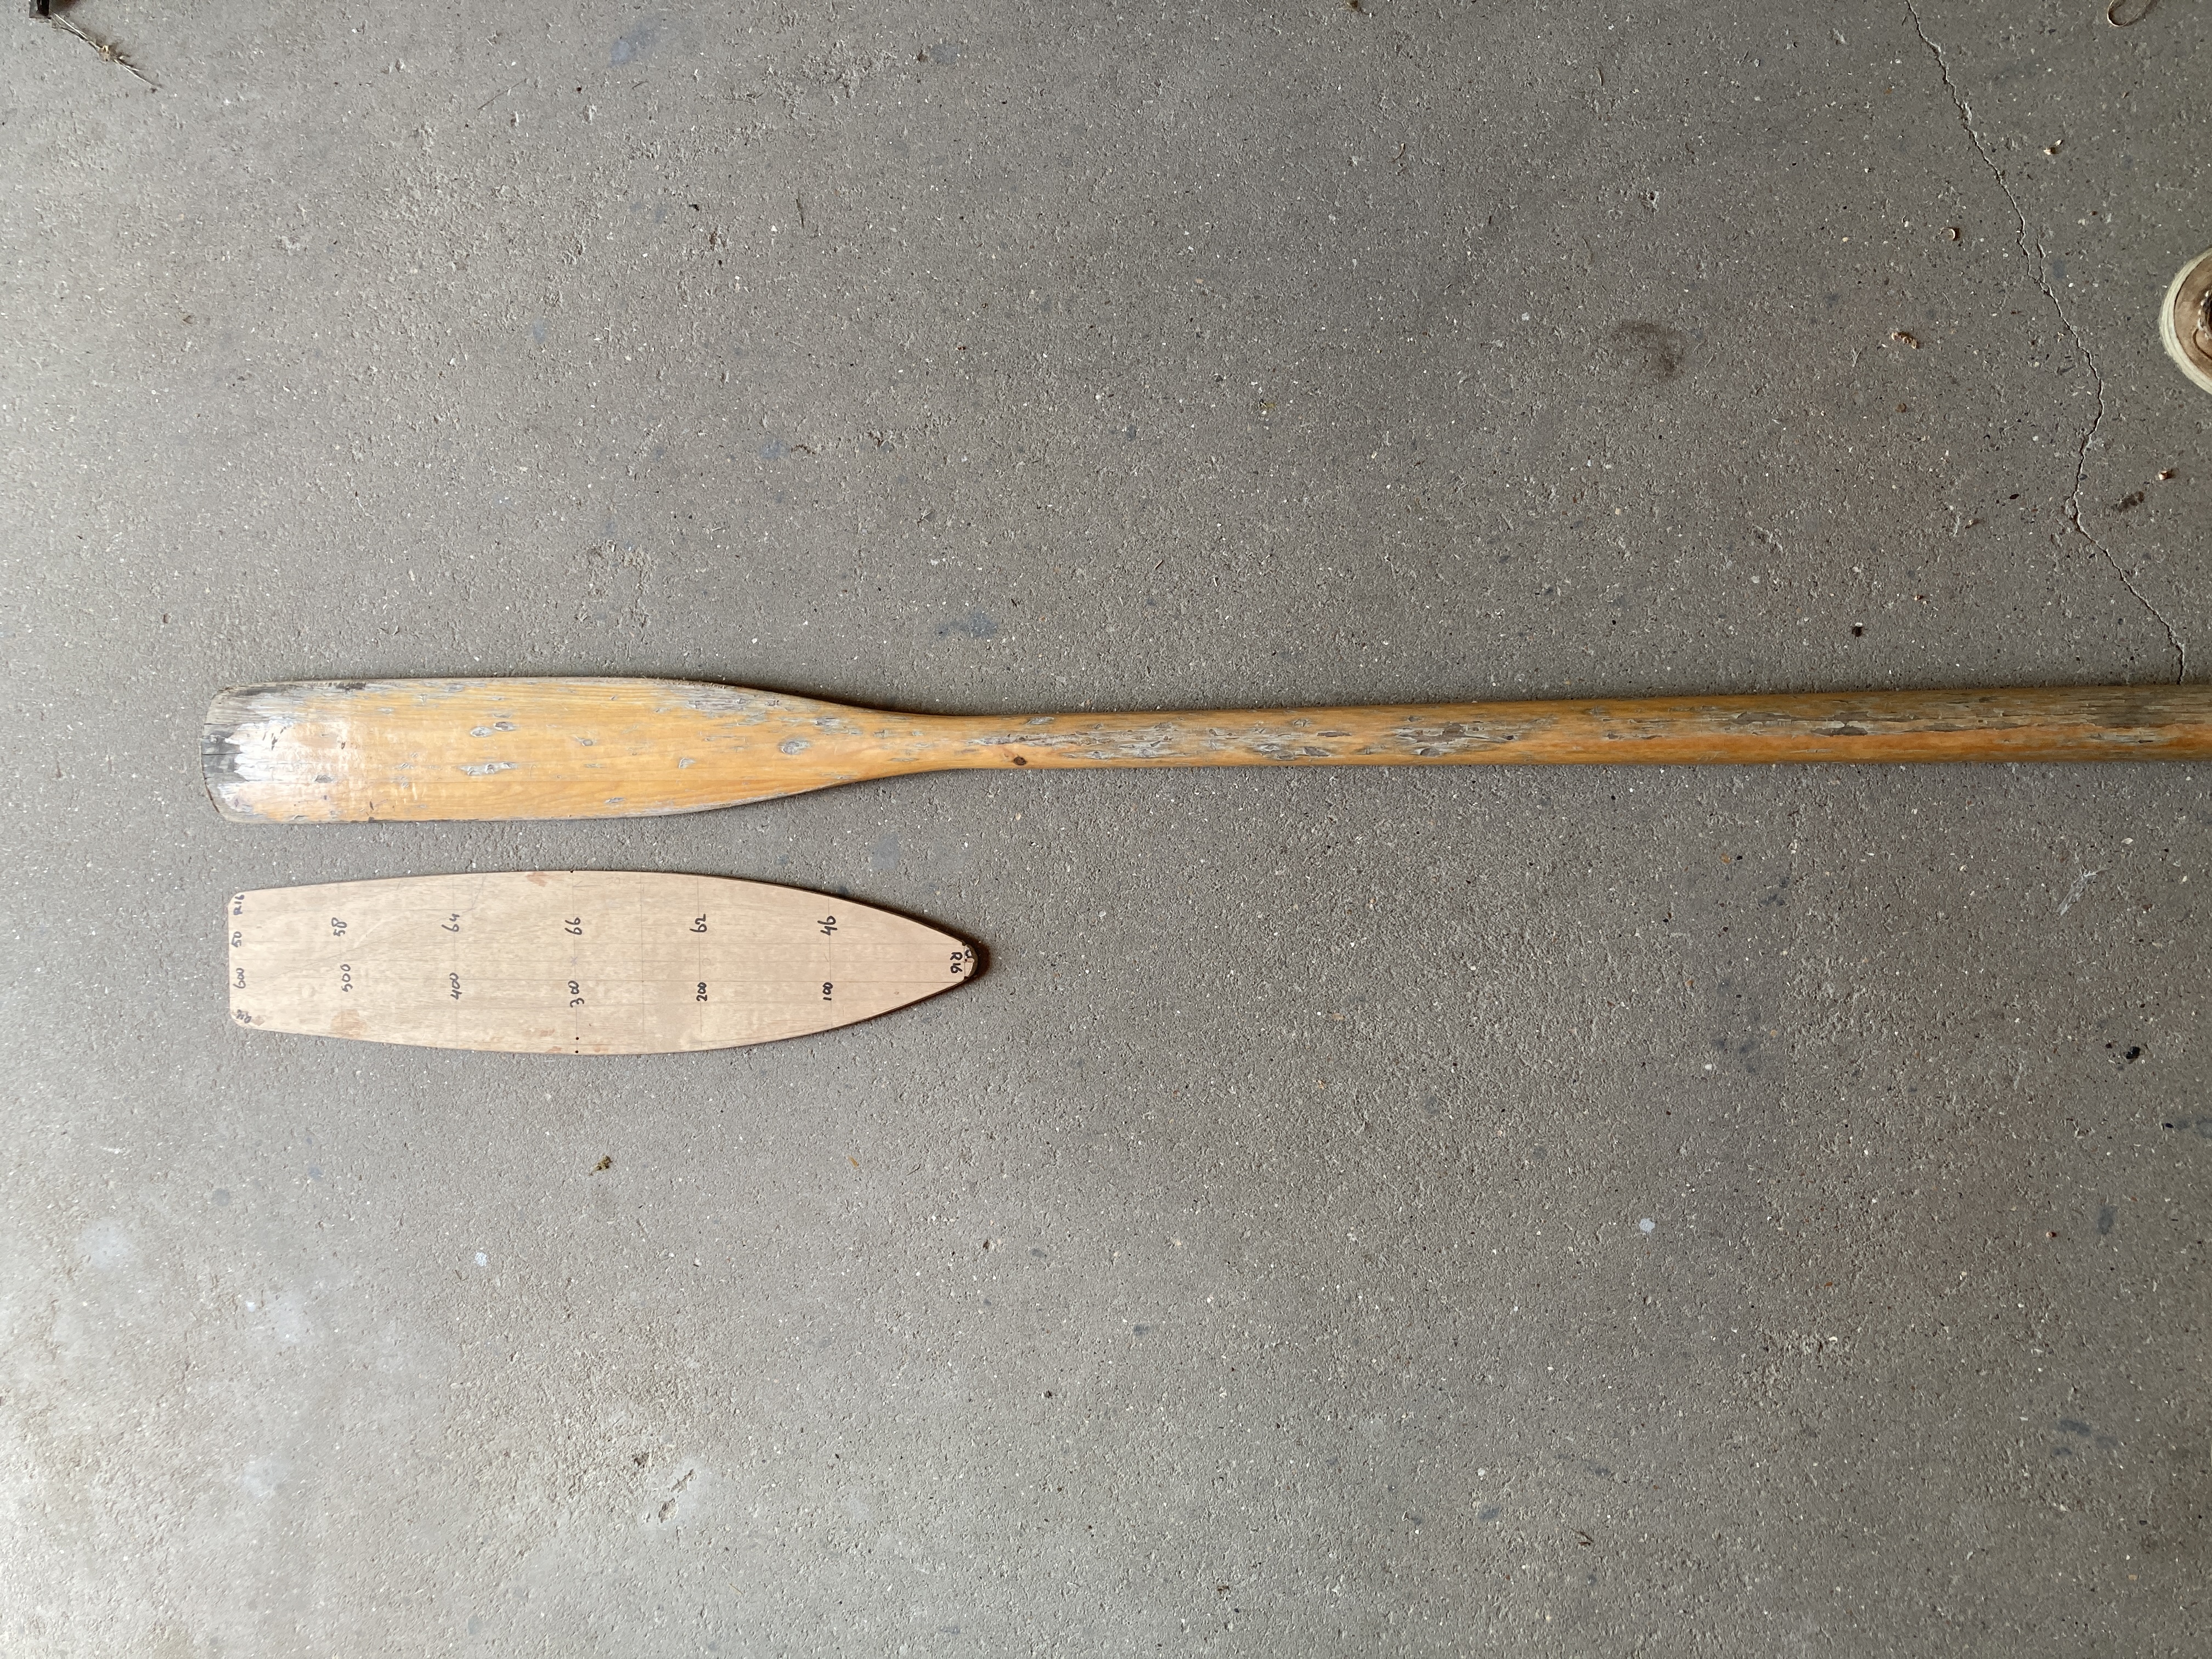 Flattened mould compared with Lahnakoski oar. 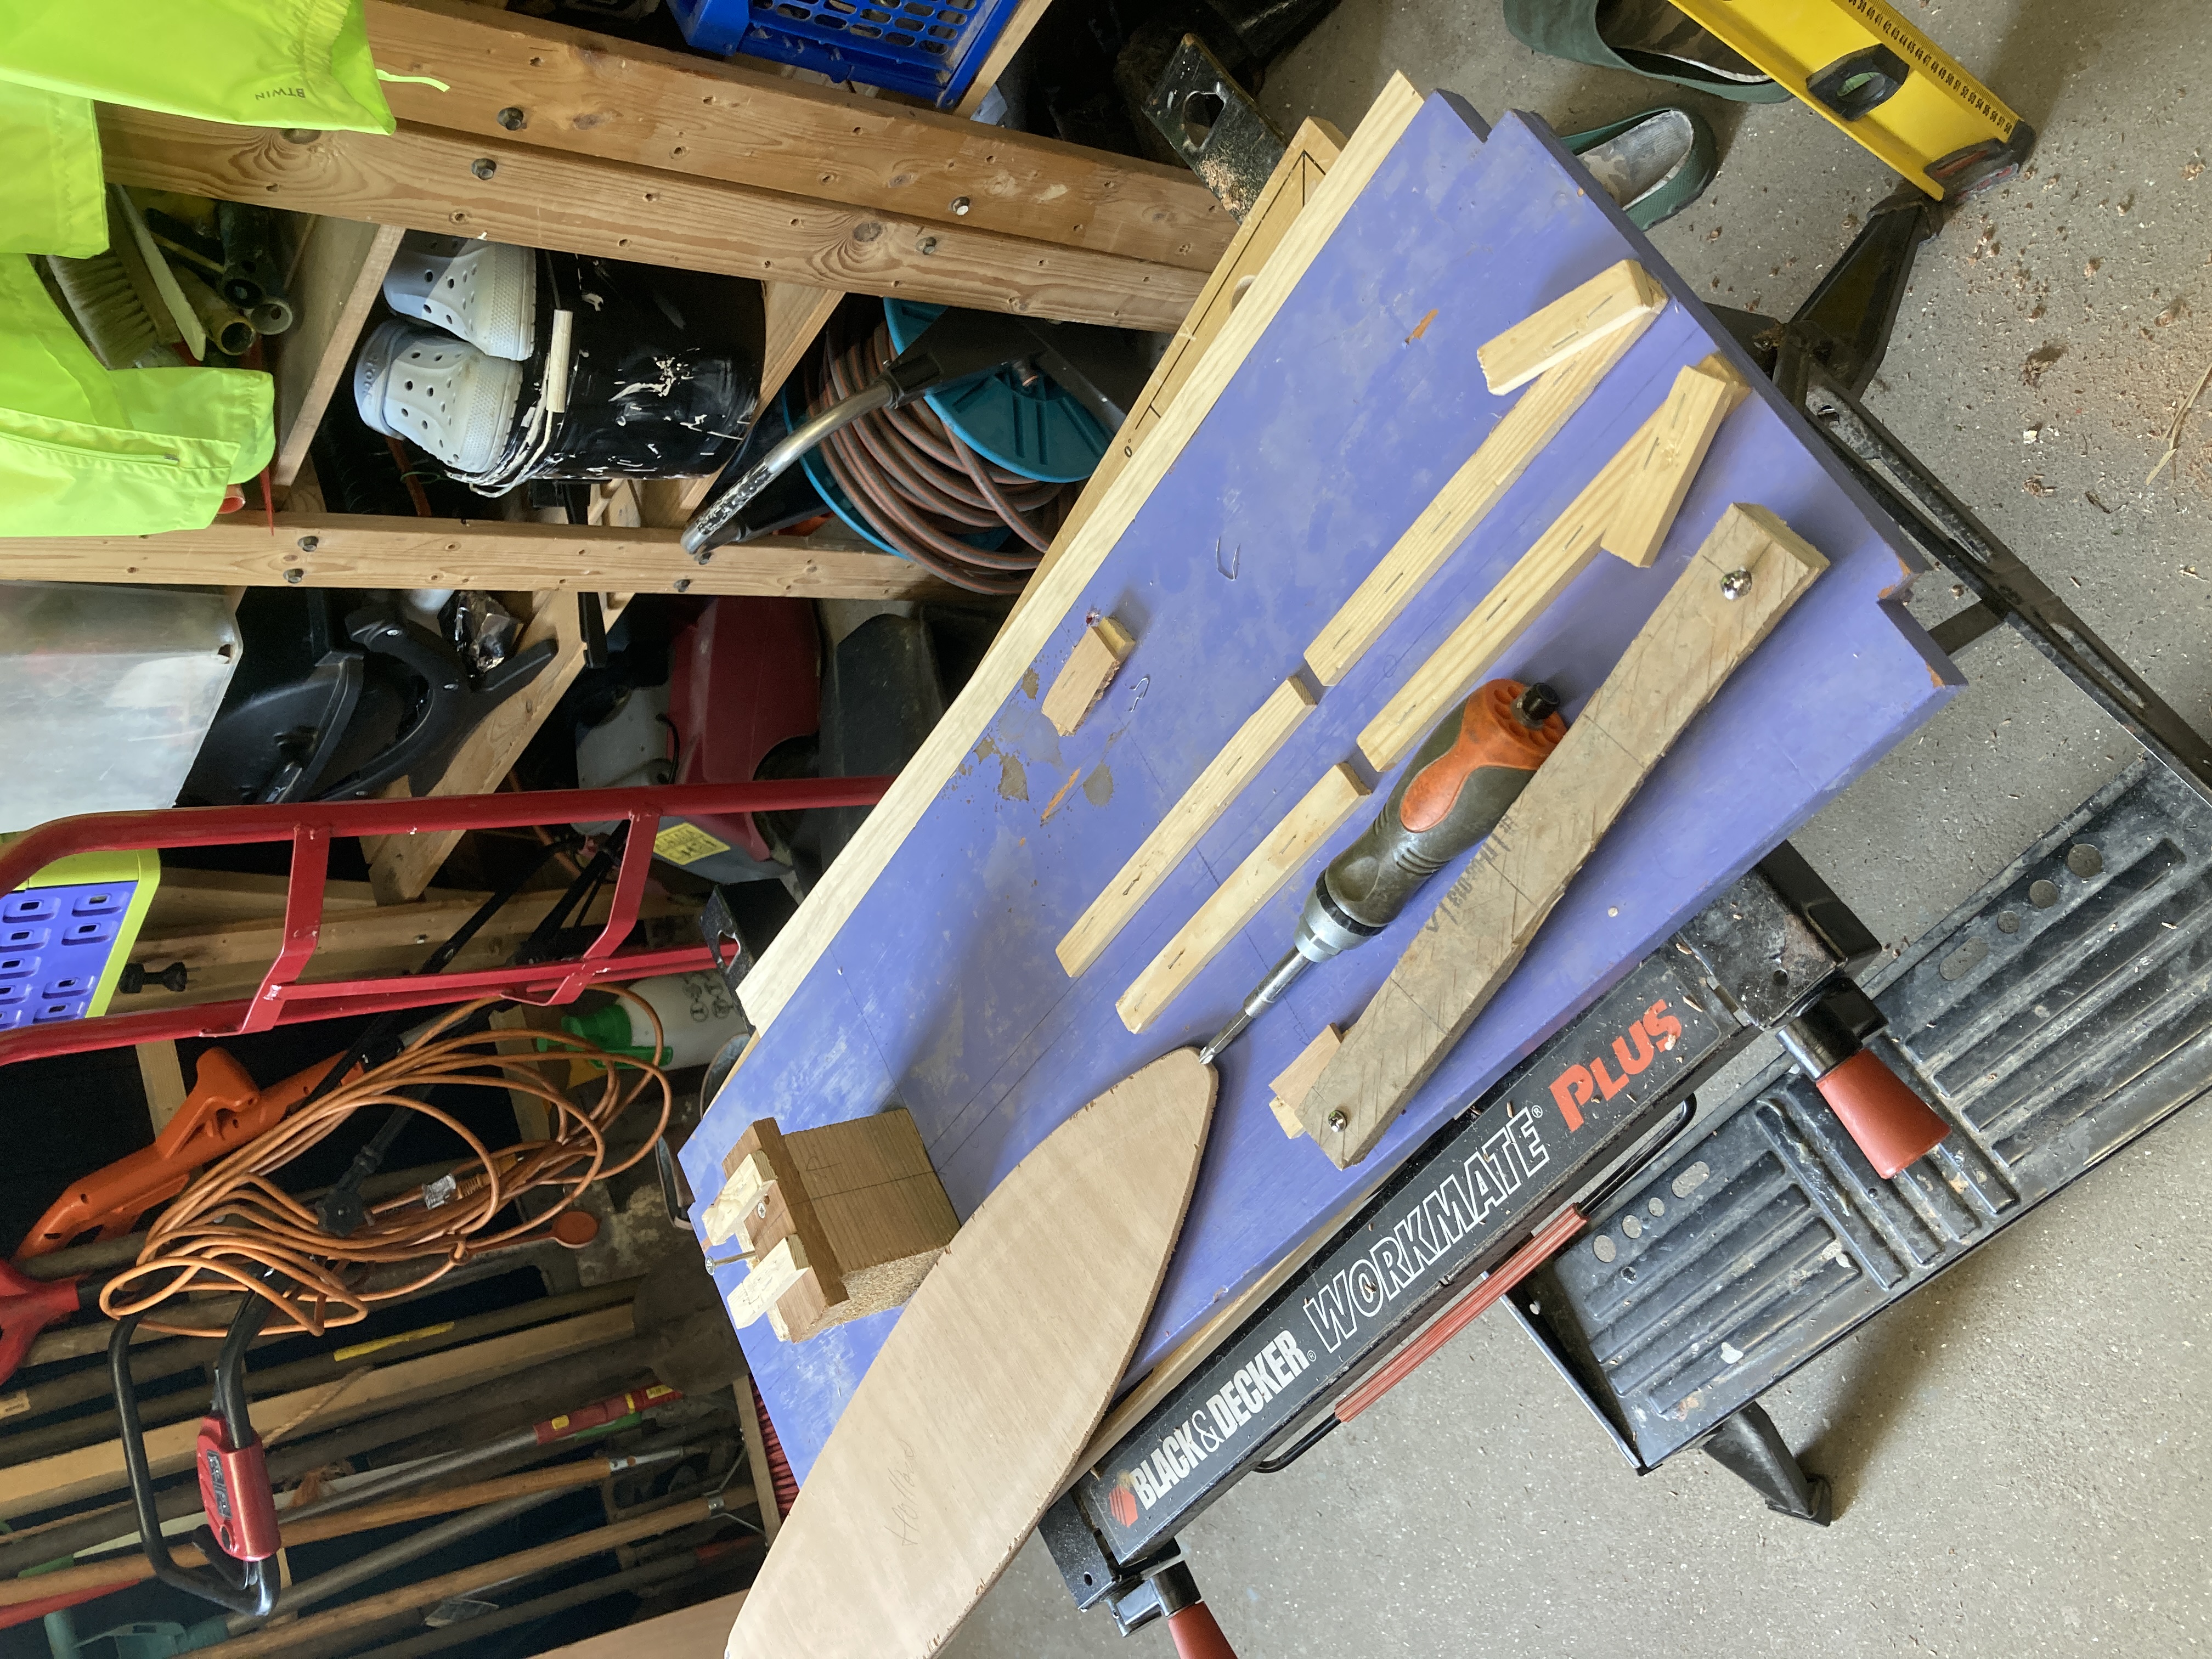 Jig for new blades. 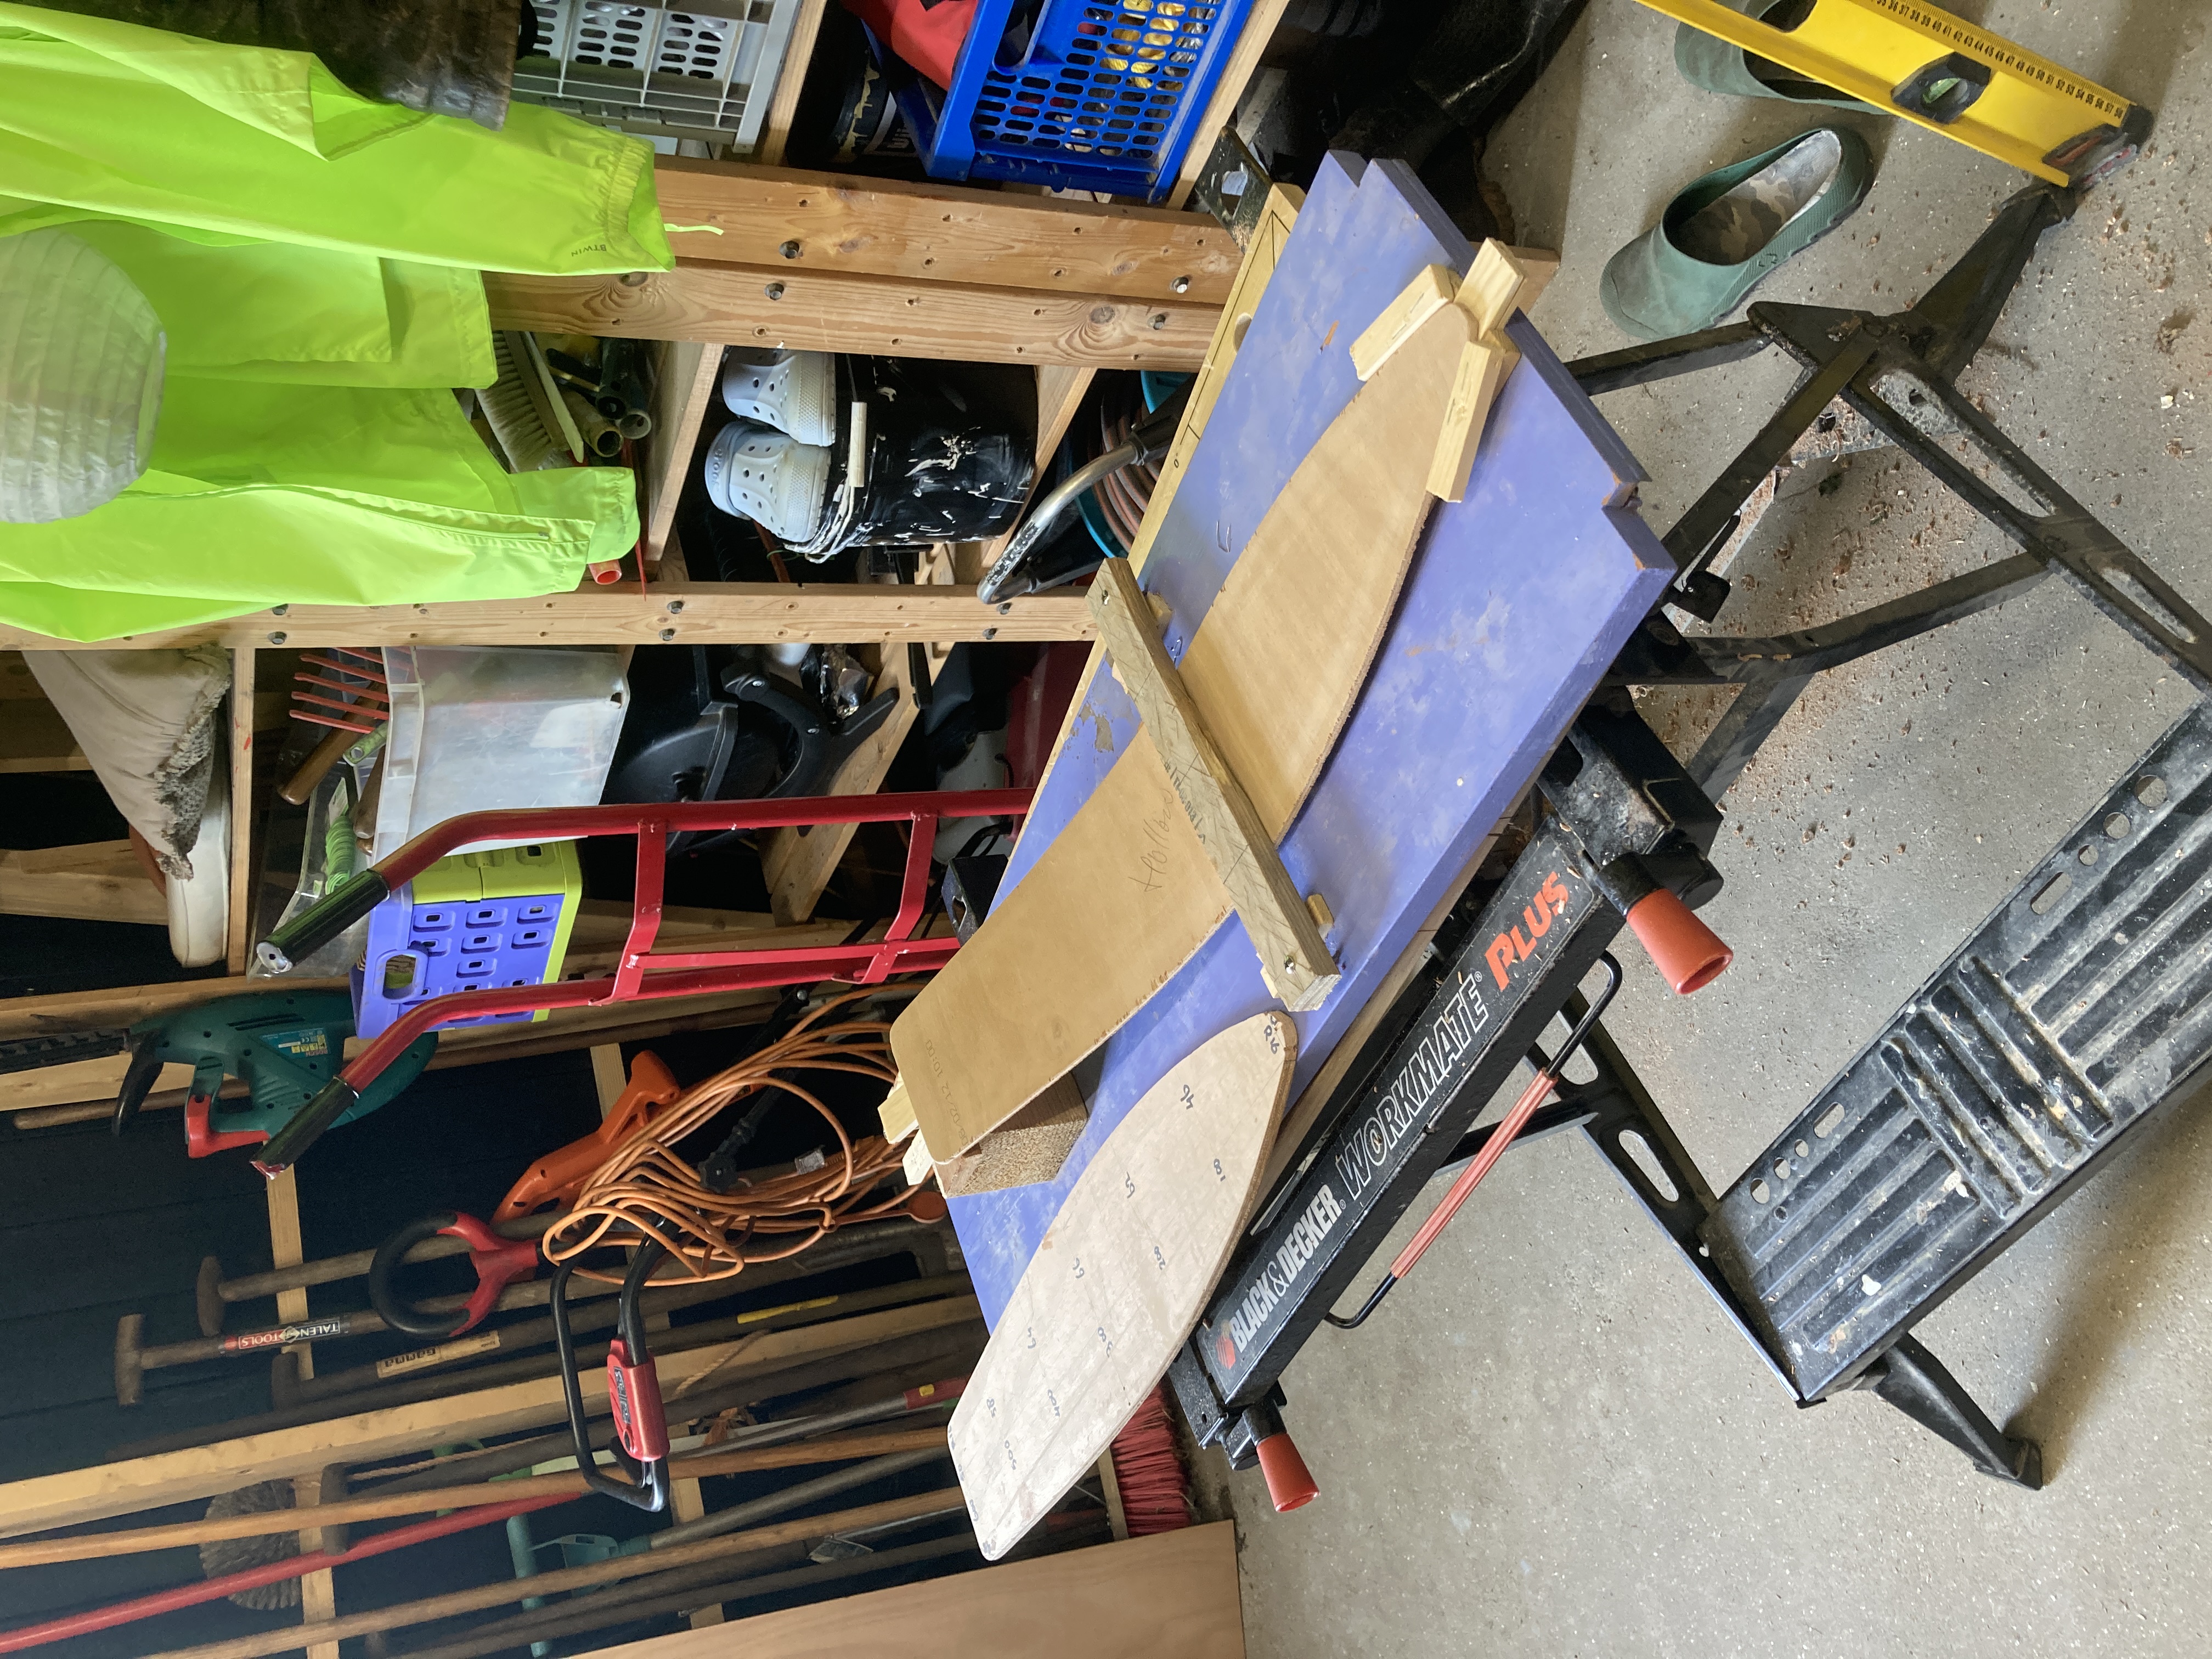 New blade in the jig. 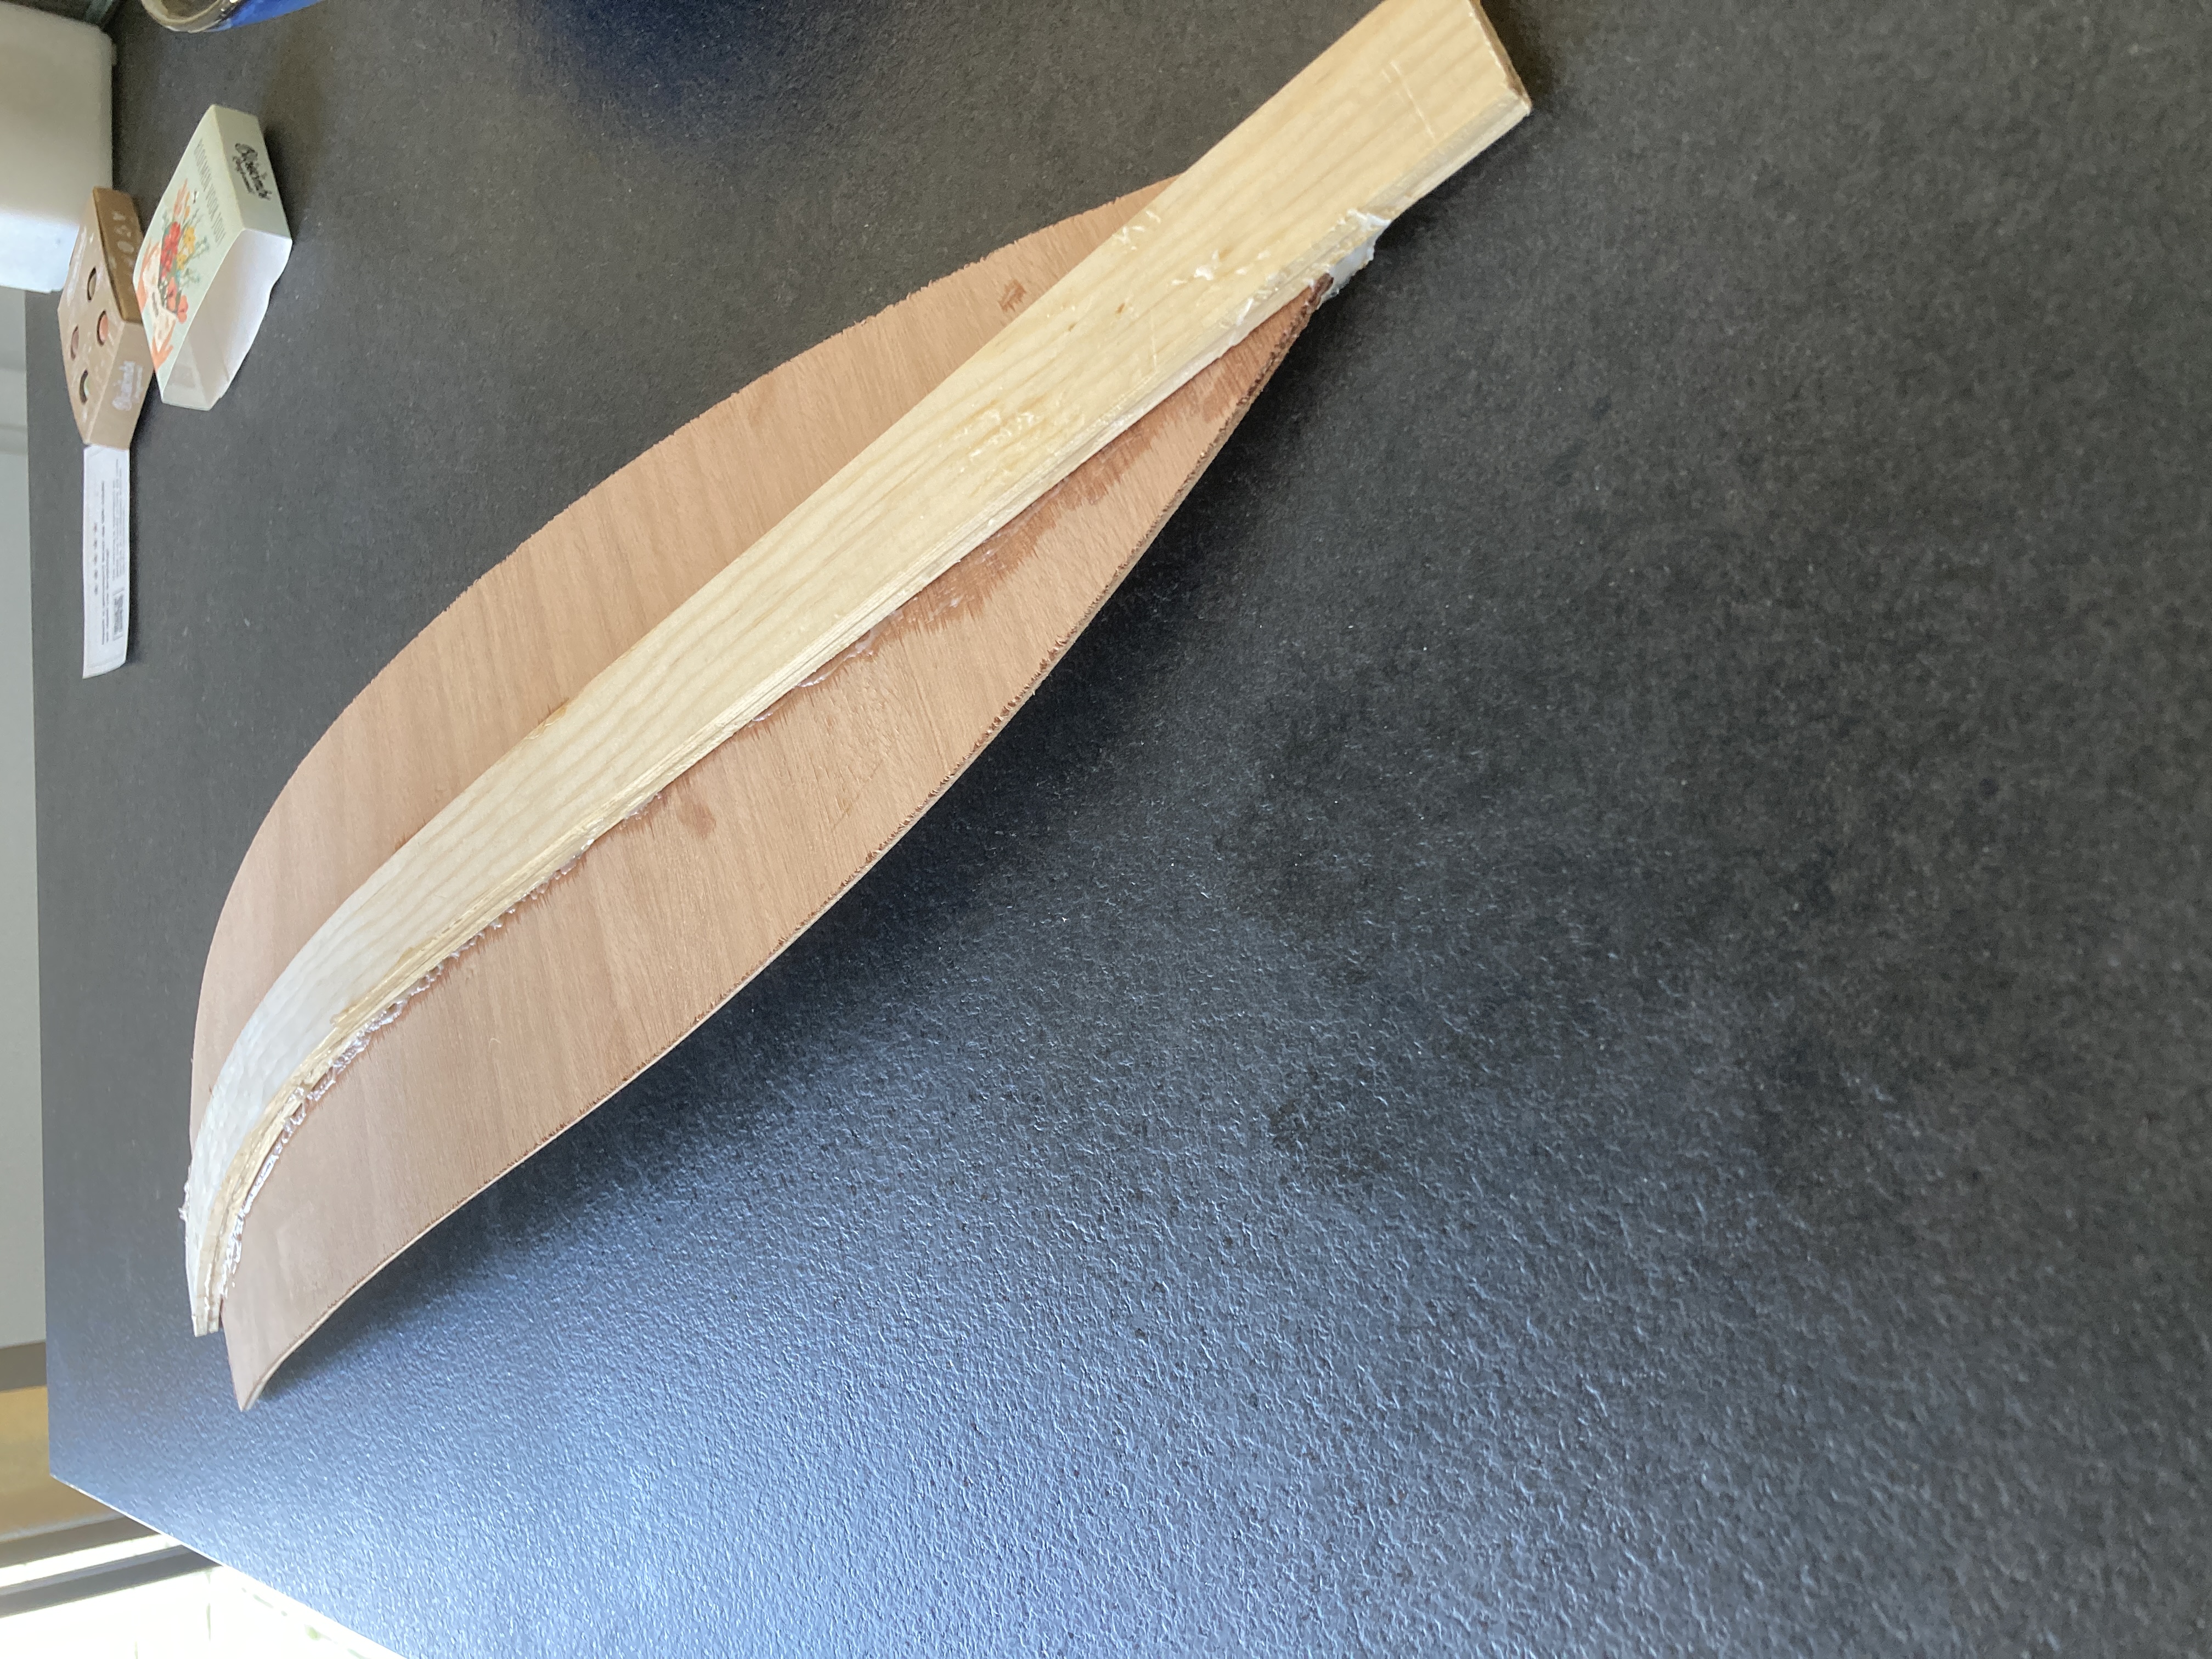 New blade out of the jig. 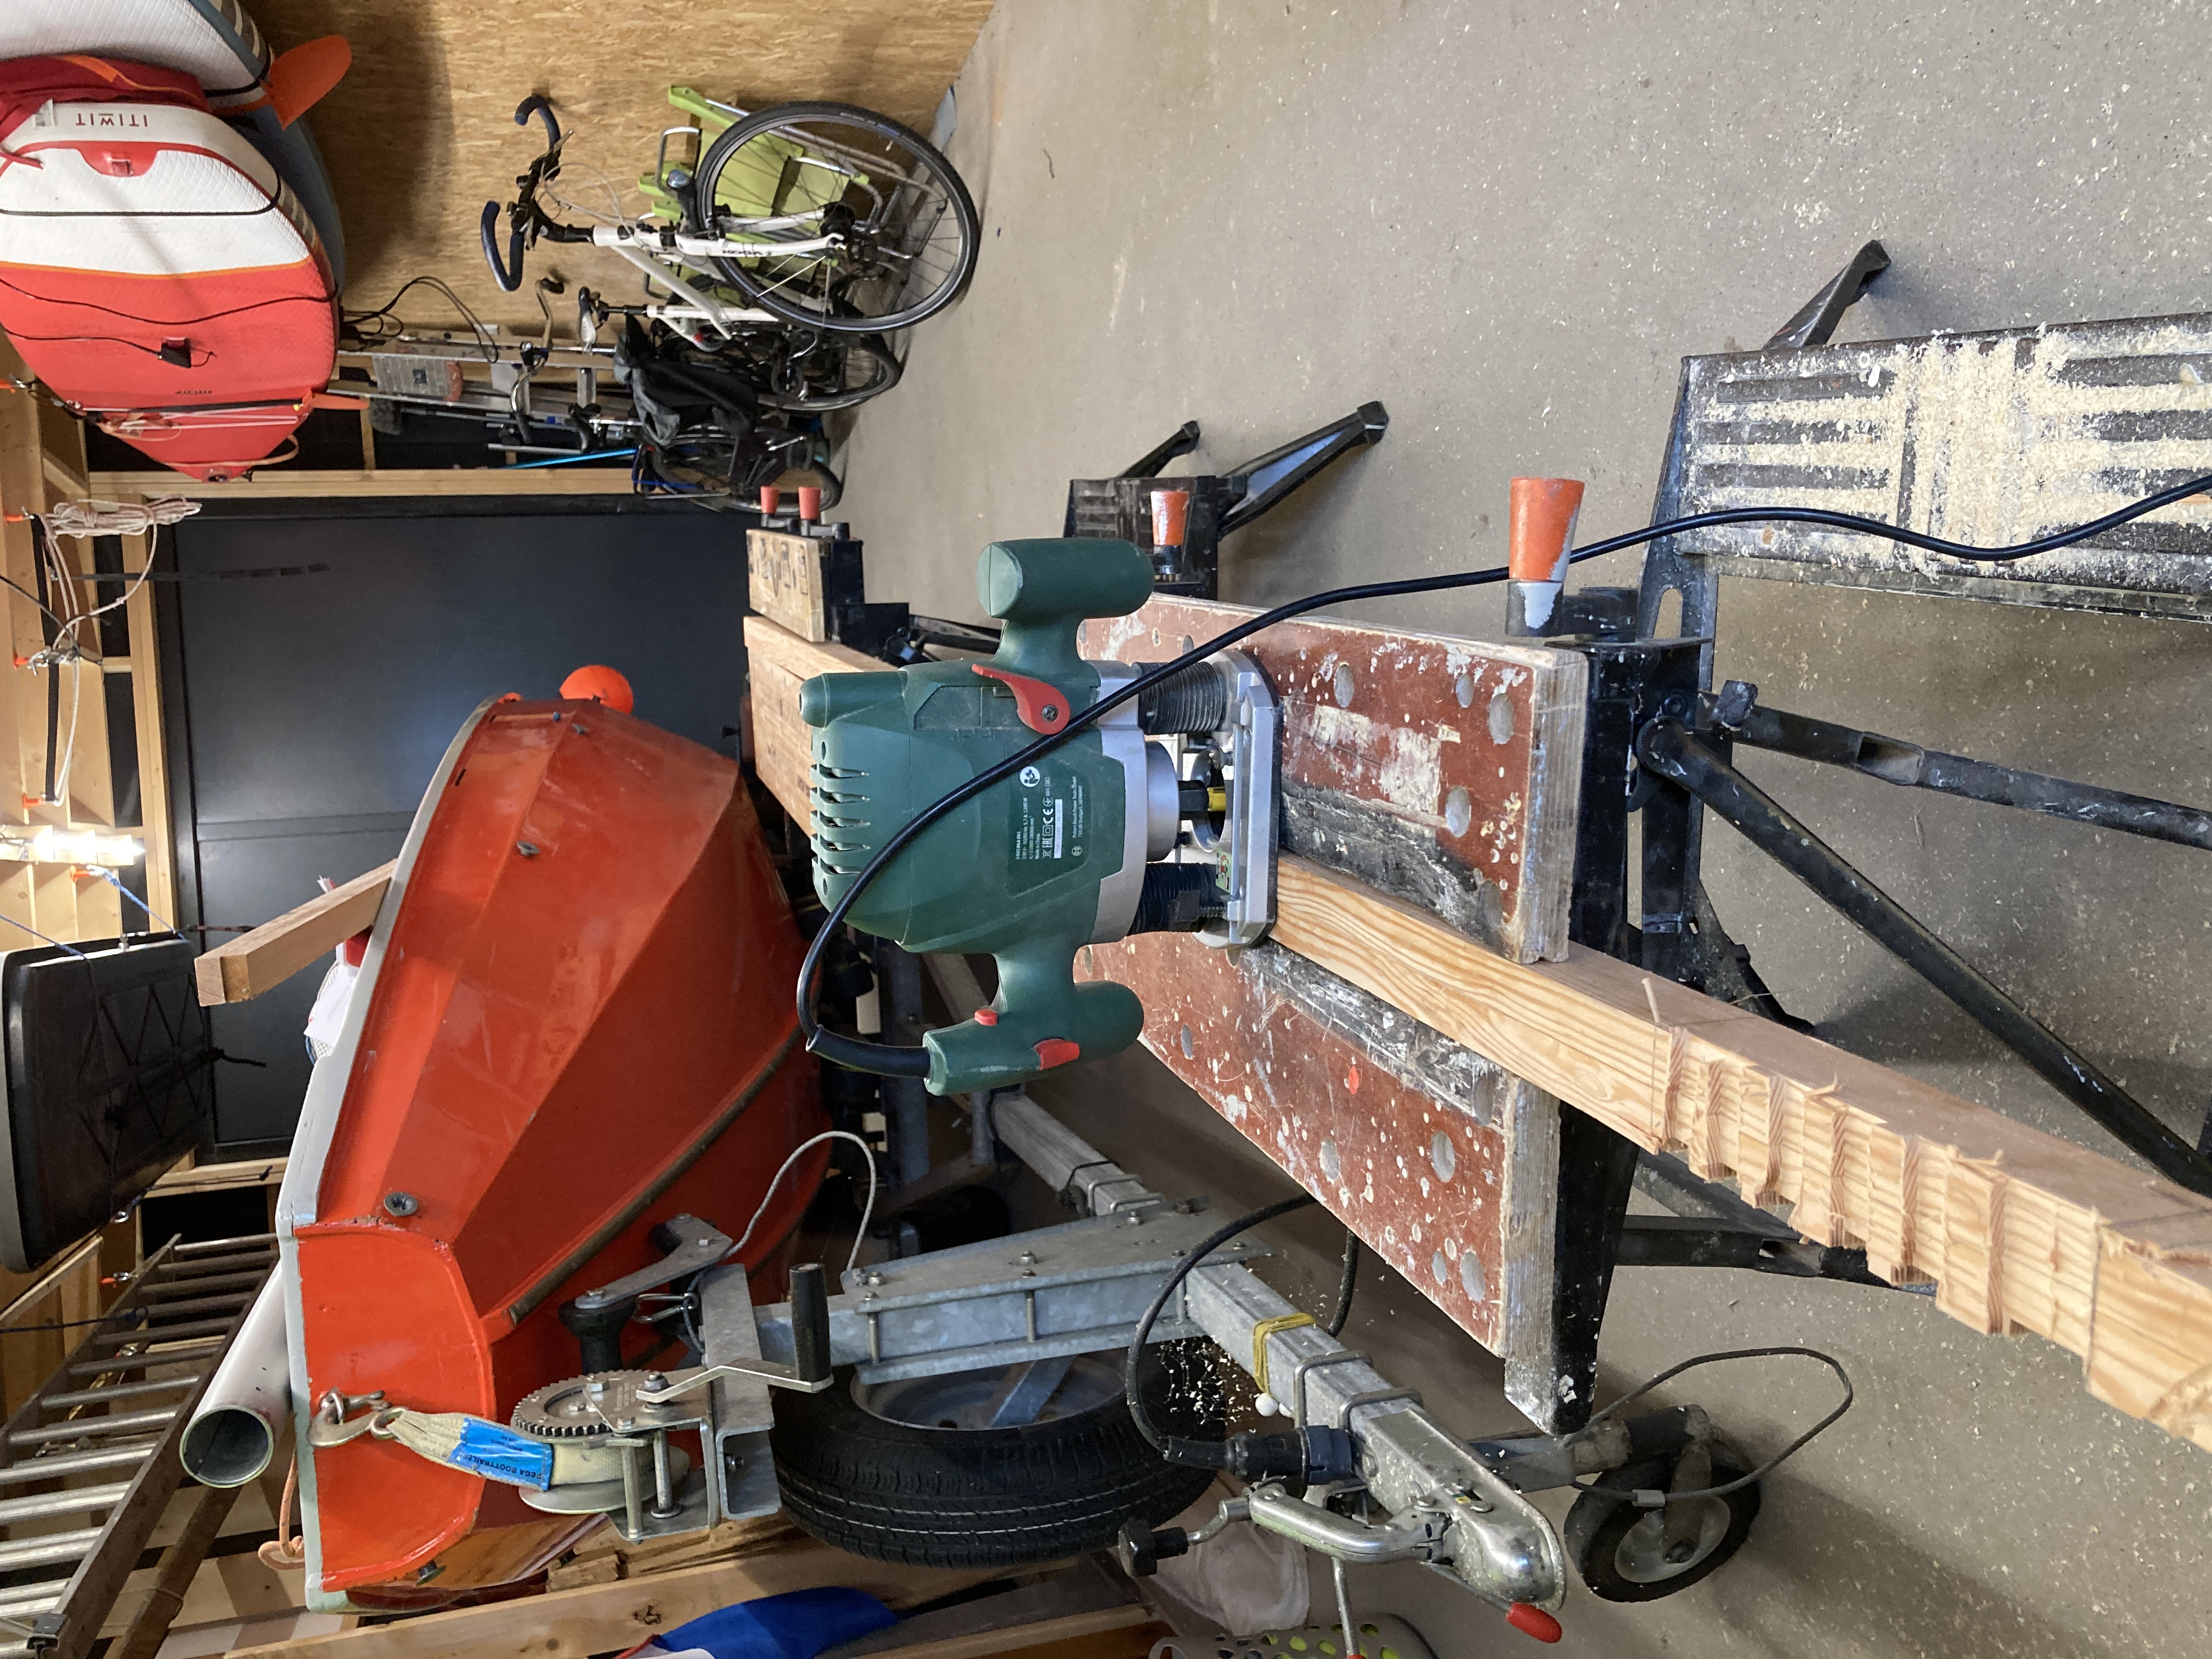 Using the router to create the handles. 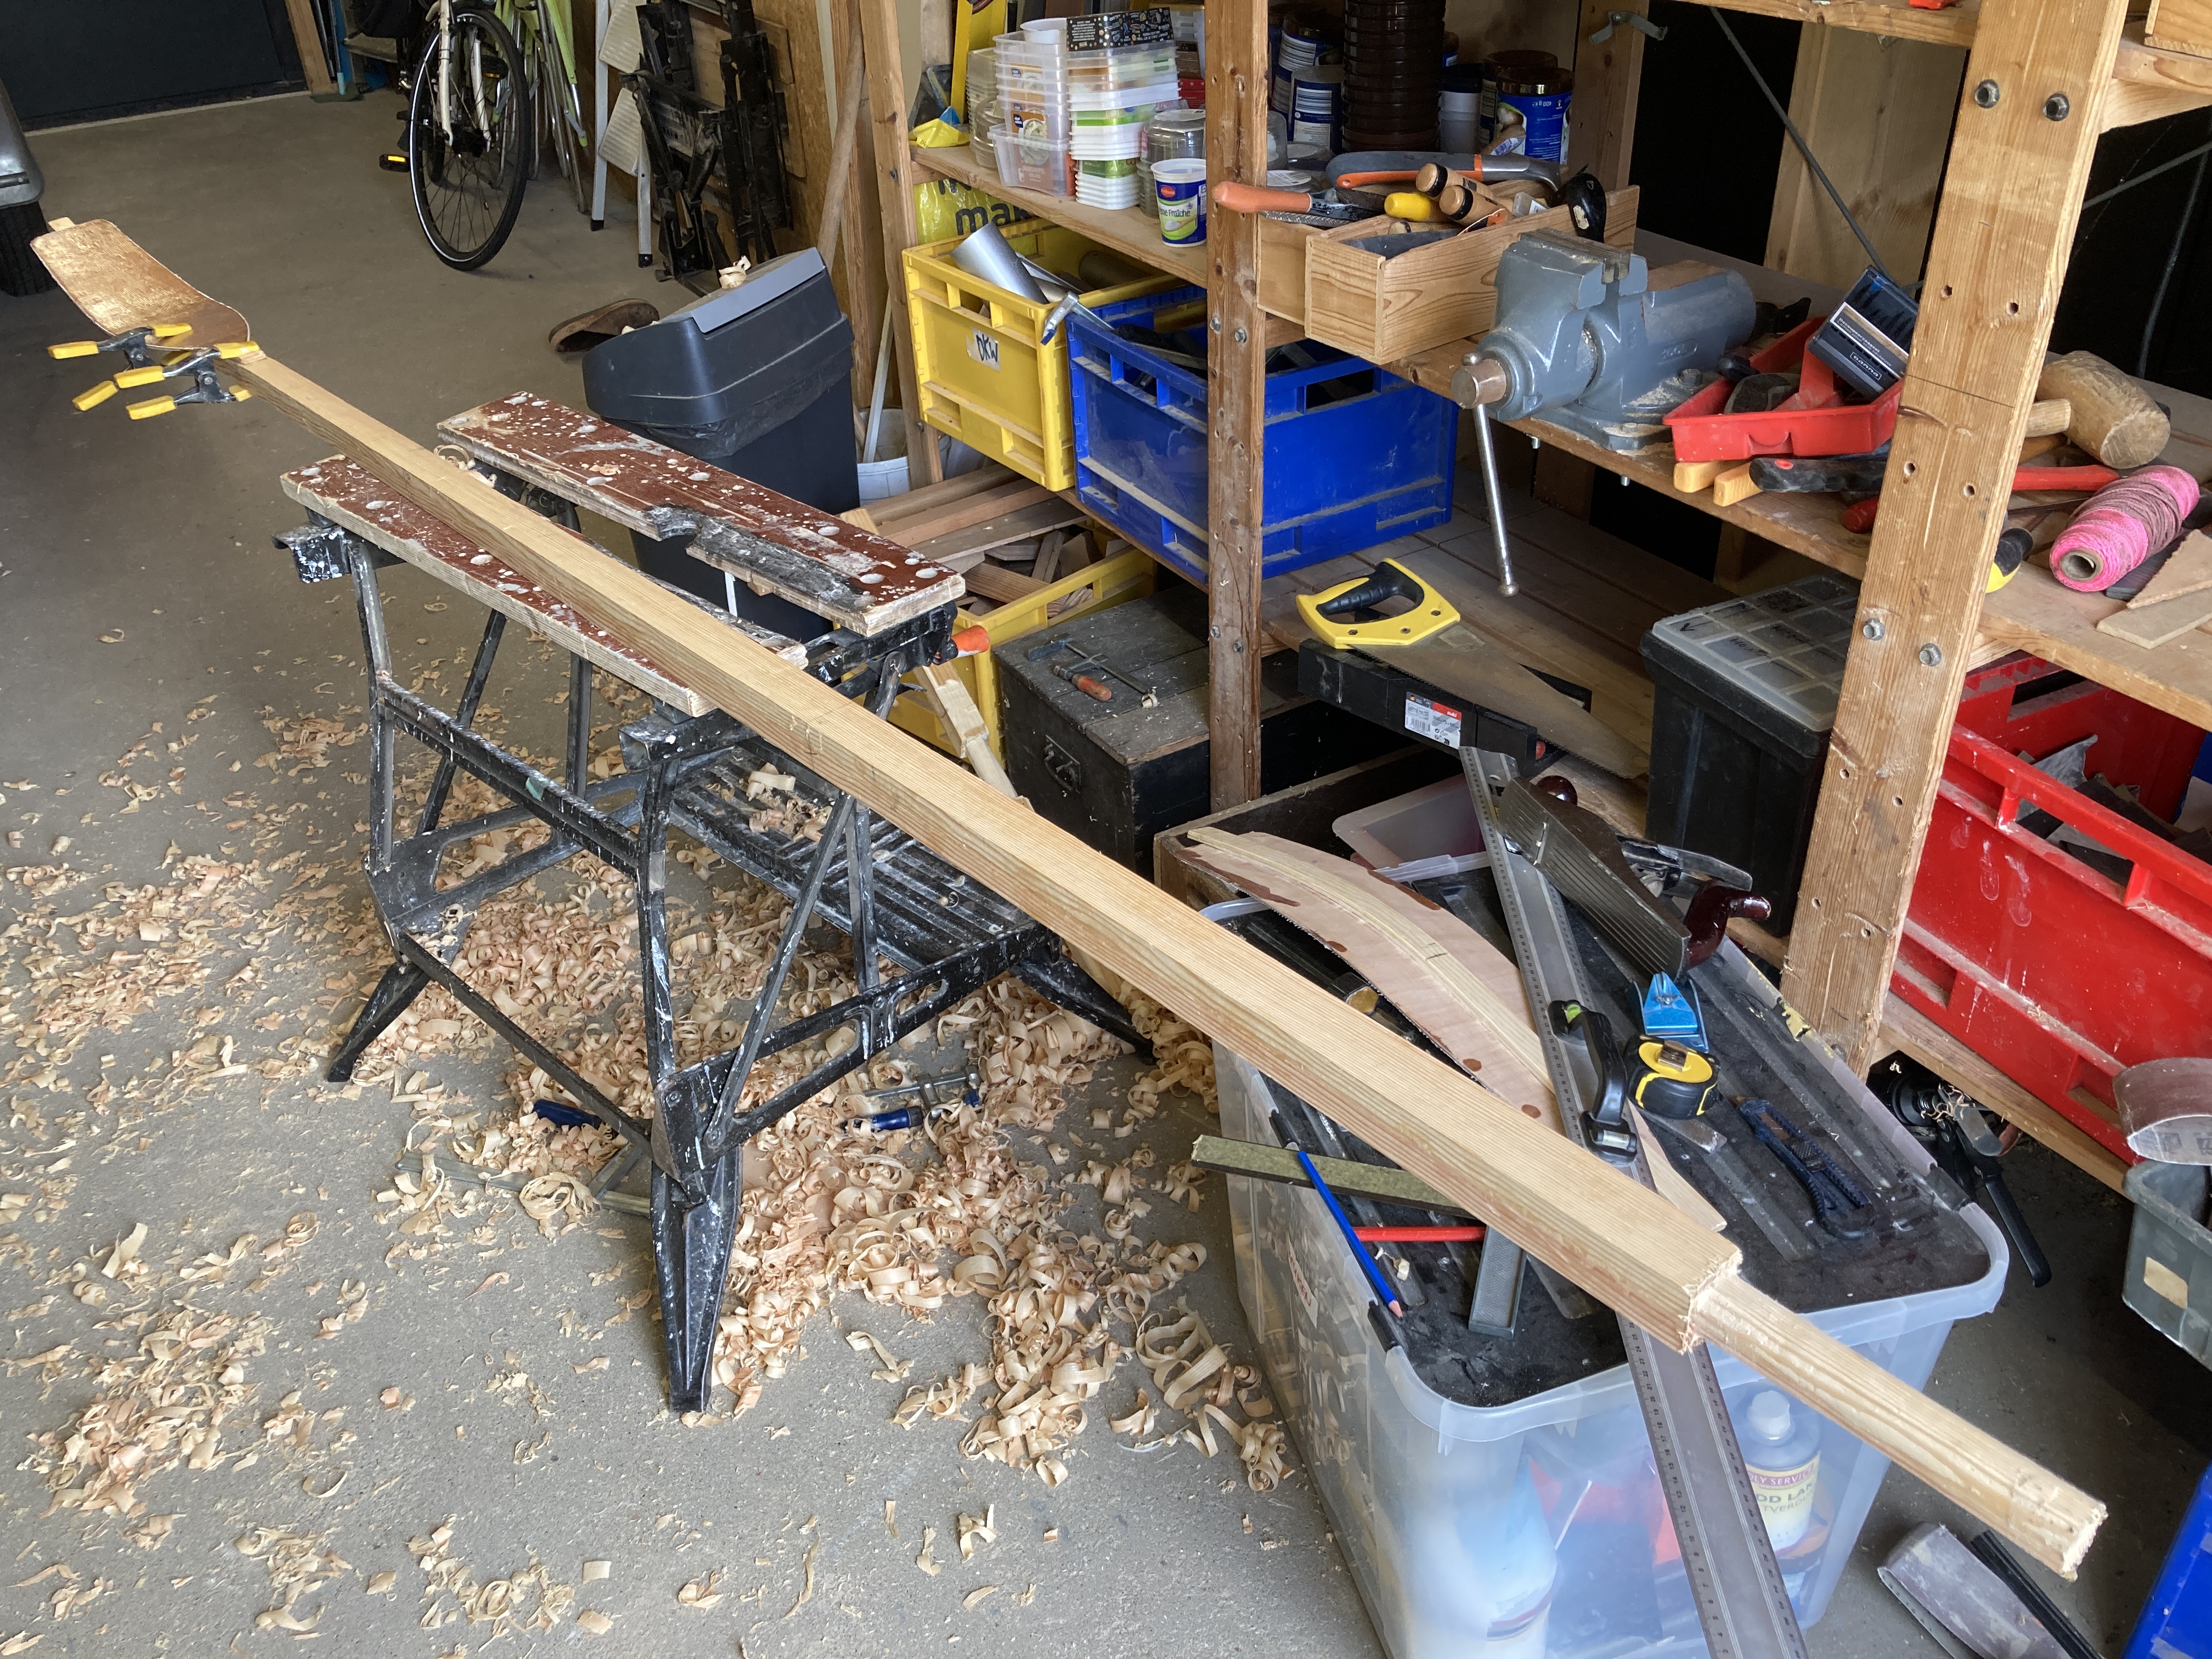 Handles roughly rounded. 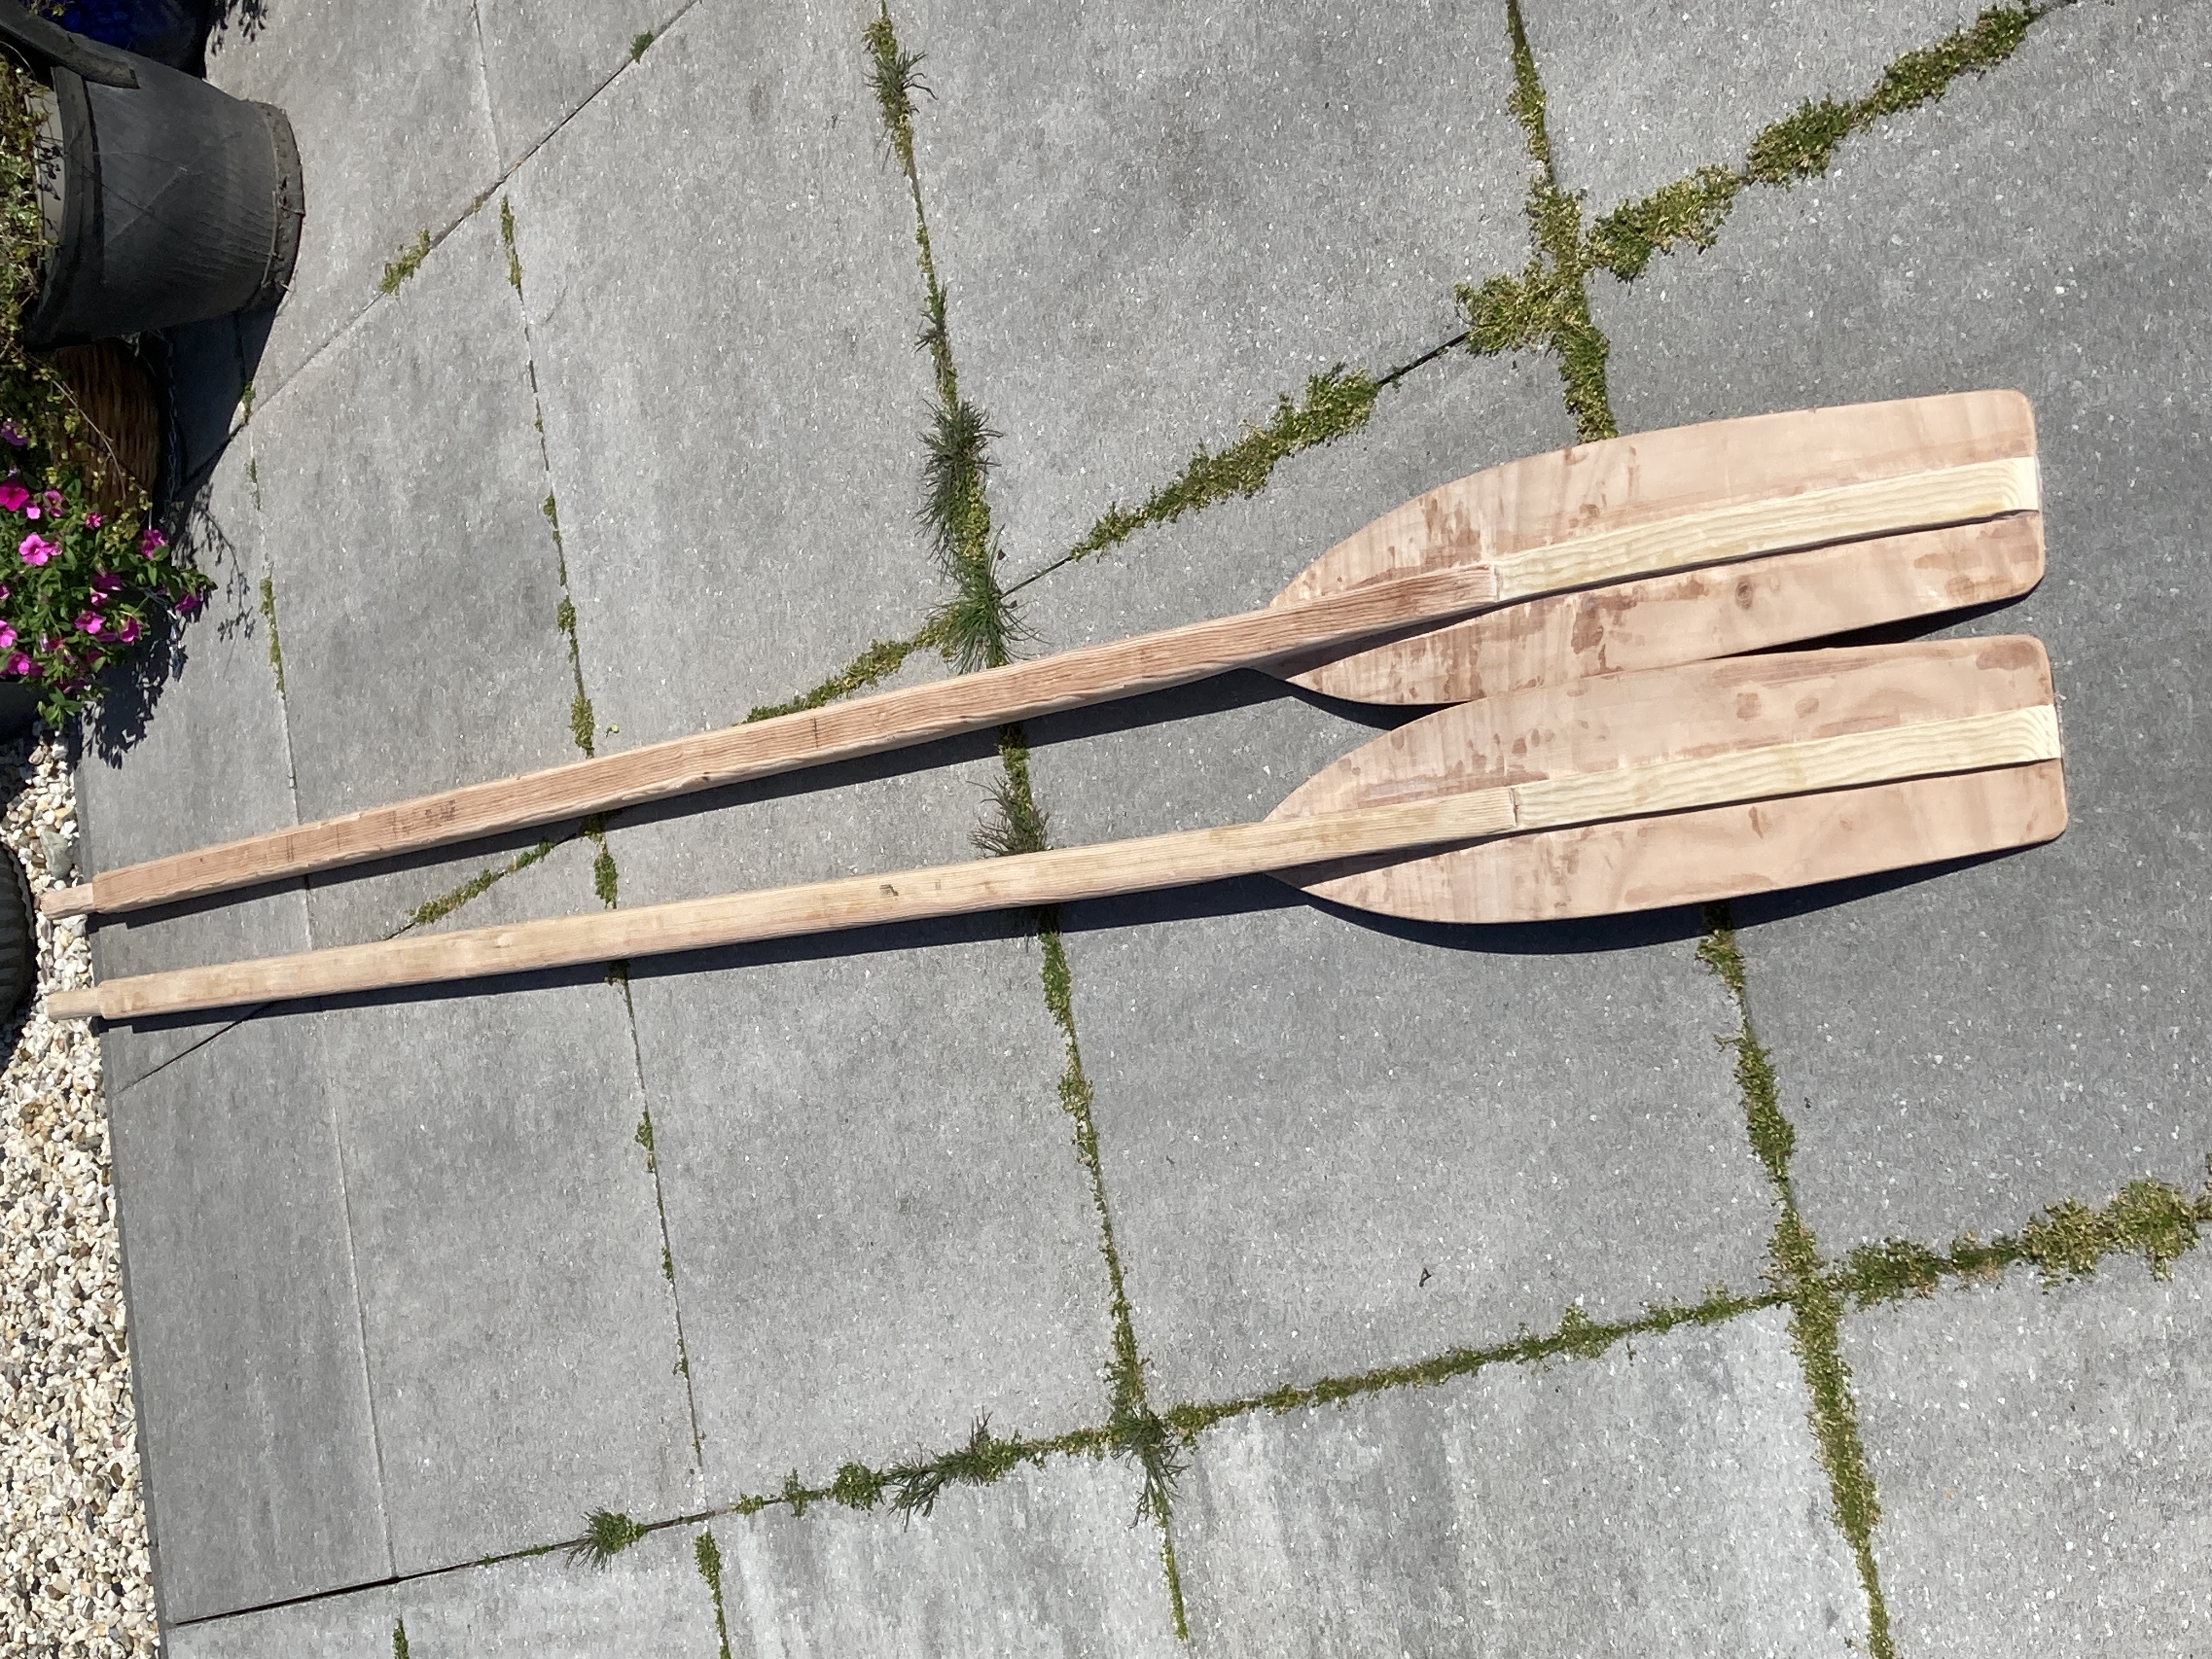 The new oars. 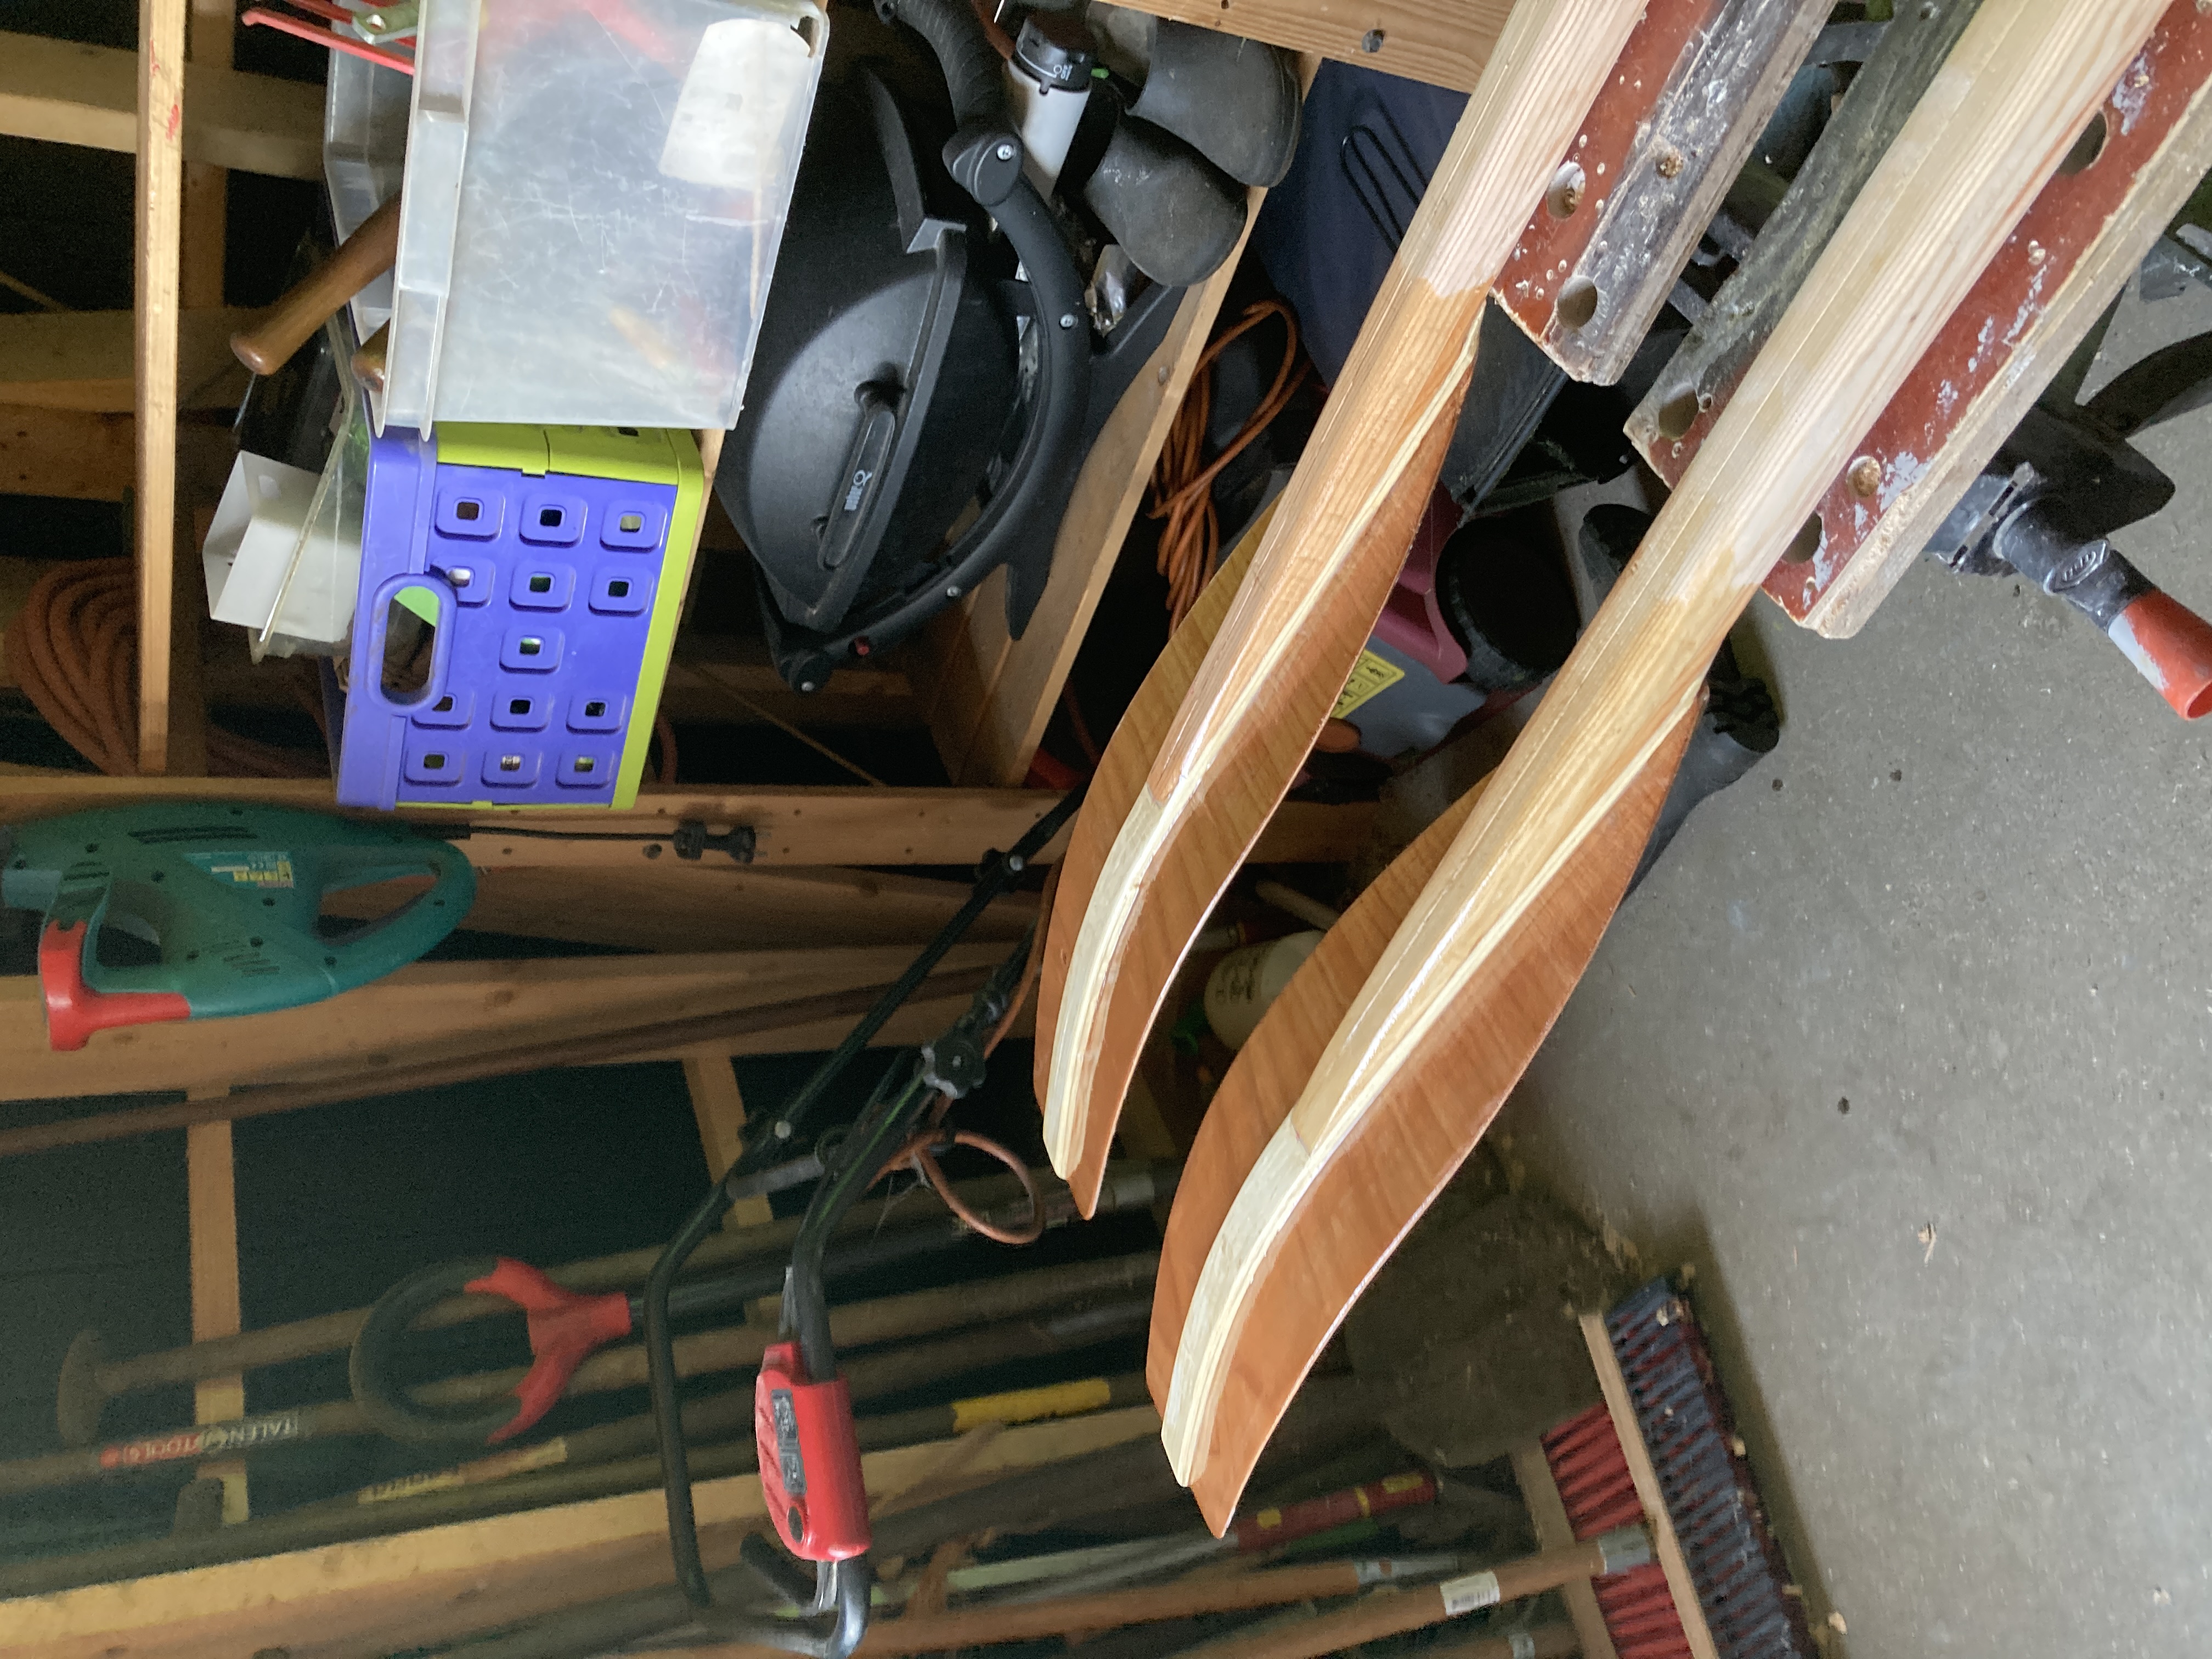 New blades with 3 coats of epoxy. |