A 15ft Pram for Dinghy Cruising
20180625
20180626
20180627
20180628
20180629
20180902
20180915
20181014
20190208
20190422
20190510
20190511
20190512
20190525
20190601
20190803
20190804
20190805
20190807
20190811
20190819
20190820
20190821
20190822
20190823
20190828
20190908
20190922
20200216
20200603
20200612
20200712
20200718
20200719
20200727
20200822
20200905
20200910
20200911
20200912
20200913
20200920
20210305
20210509
20210724
20210905
20210912
20211003
20220430
20220508
20220603
20220618
20220821
20220828
20220904
20220911
20221009
20230423
20230520
20230528
20230625
20230805
20230806
20230810
20230903
20230906
20230910
20230911
20231001
20231008
20240423
20240515
20240603
20240614
20240623
20240710
20240714
20240716
20240720
20240723
20240725
20240726
20240727
20240730
20240908
20240915
20240929
20241007
20241019
20241021
20241110
20250420
20250421
20250422
20250428
20250504
20250505
20250622
20250630
20250707
20250716
20250717
20250718
20250719
20250720
20250721
20250724
20250725
20250825
20250907
20250910
<<
>>
20250716 |
New Oars for Hatseflats Part 3Saturday 12 JulyPunched holes at 10mm intervals along the edges of the leathers (10mm from the edge). I used an awl for punching the holes from either side. Then I attached the leather to the oar with double-sided tape and used 200cm of twine to sew each leather. Once the leathering was complete I applied Bison-Tix (neoprene glue) to the strips for the buttons and the 'cuffs' of the sleeves and let it dry for 15 minutes. Repeated this process because the leather was absorbing the glue too well. Finally glued the strips into place to form the buttons. Sunday 13 July
I fixed a retainer line to the oarlocks but found I could not lift the oarlocks from the sockets.
By coincidence Joost called to ask how the new oars were developing.
He suggested to saw notches into the pins of the new oarlocks
to allow some space between the retainer line and the inside of the sockets.
Wednesday 16 July
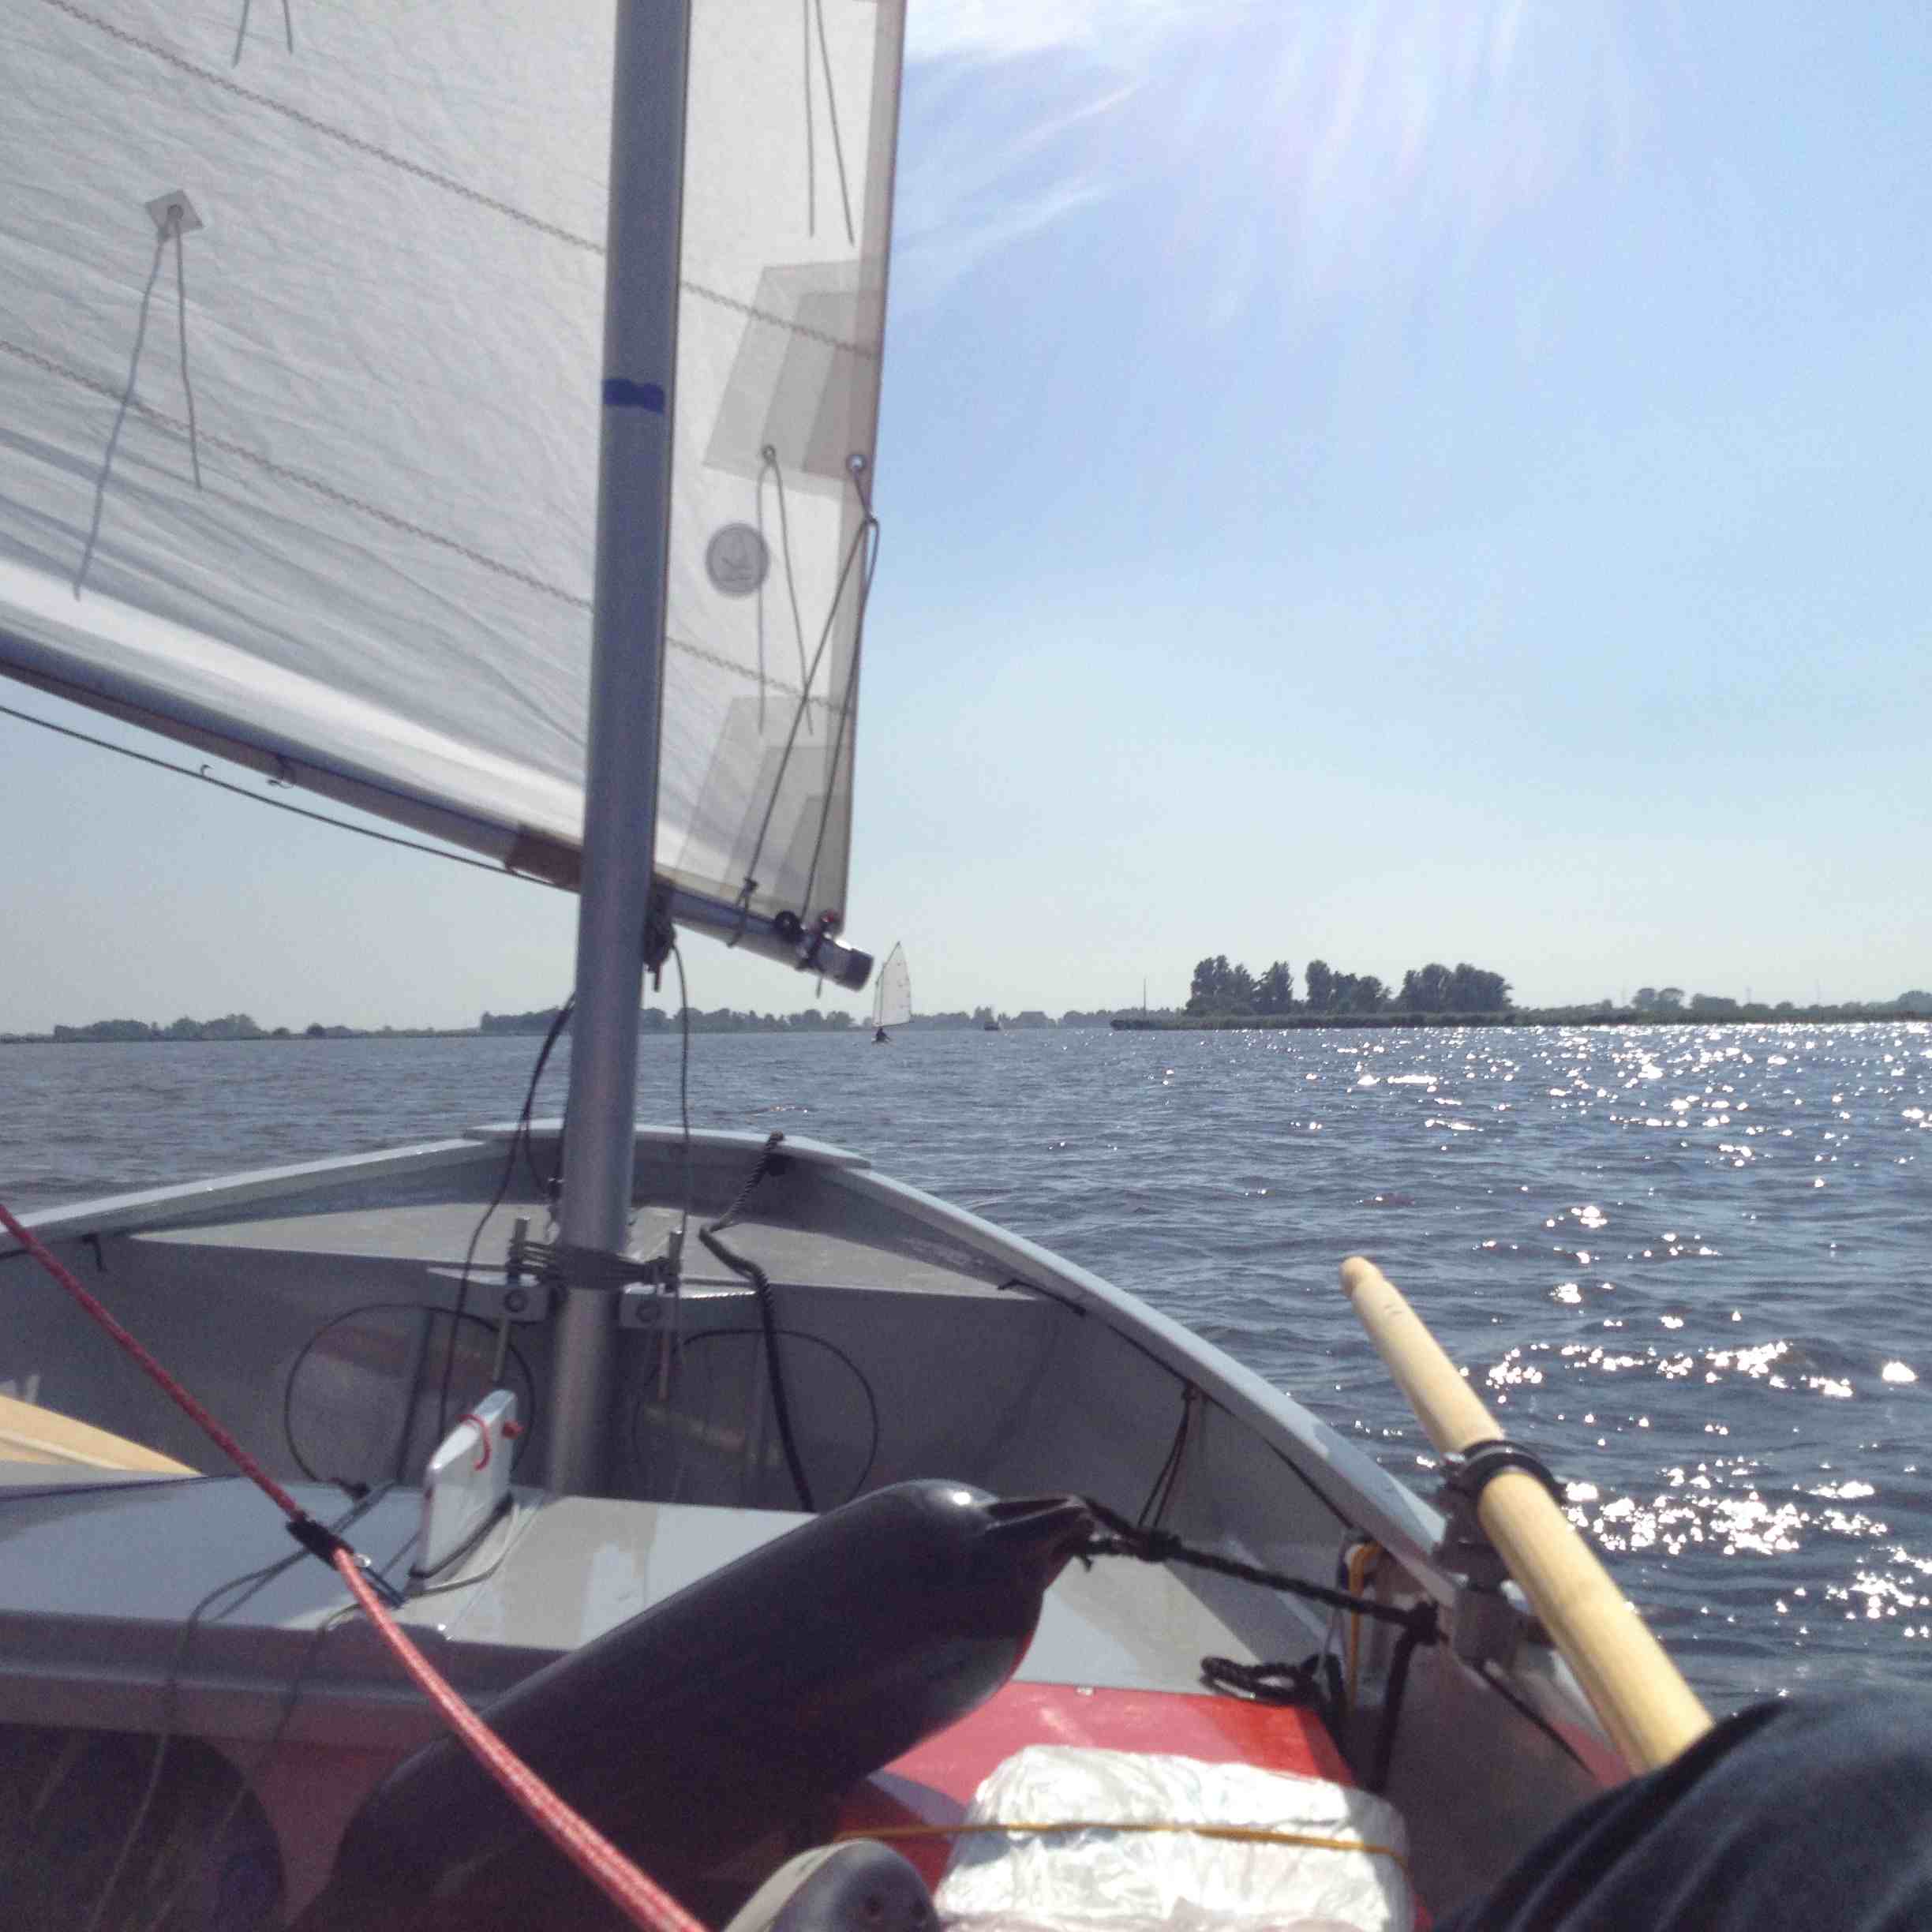
I took my new oars to the Limfjord and brought my old oars as reserve oars.
After launching I took Hatseflats for a spin around the marina and found that it rowed quite well.
Although the blades were just a shade bigger than the old Lahnakoski oars I found that each pull provided more power.
I would say that 3 pulls with the new oars generated the same power as the old ones with 4 pulls.
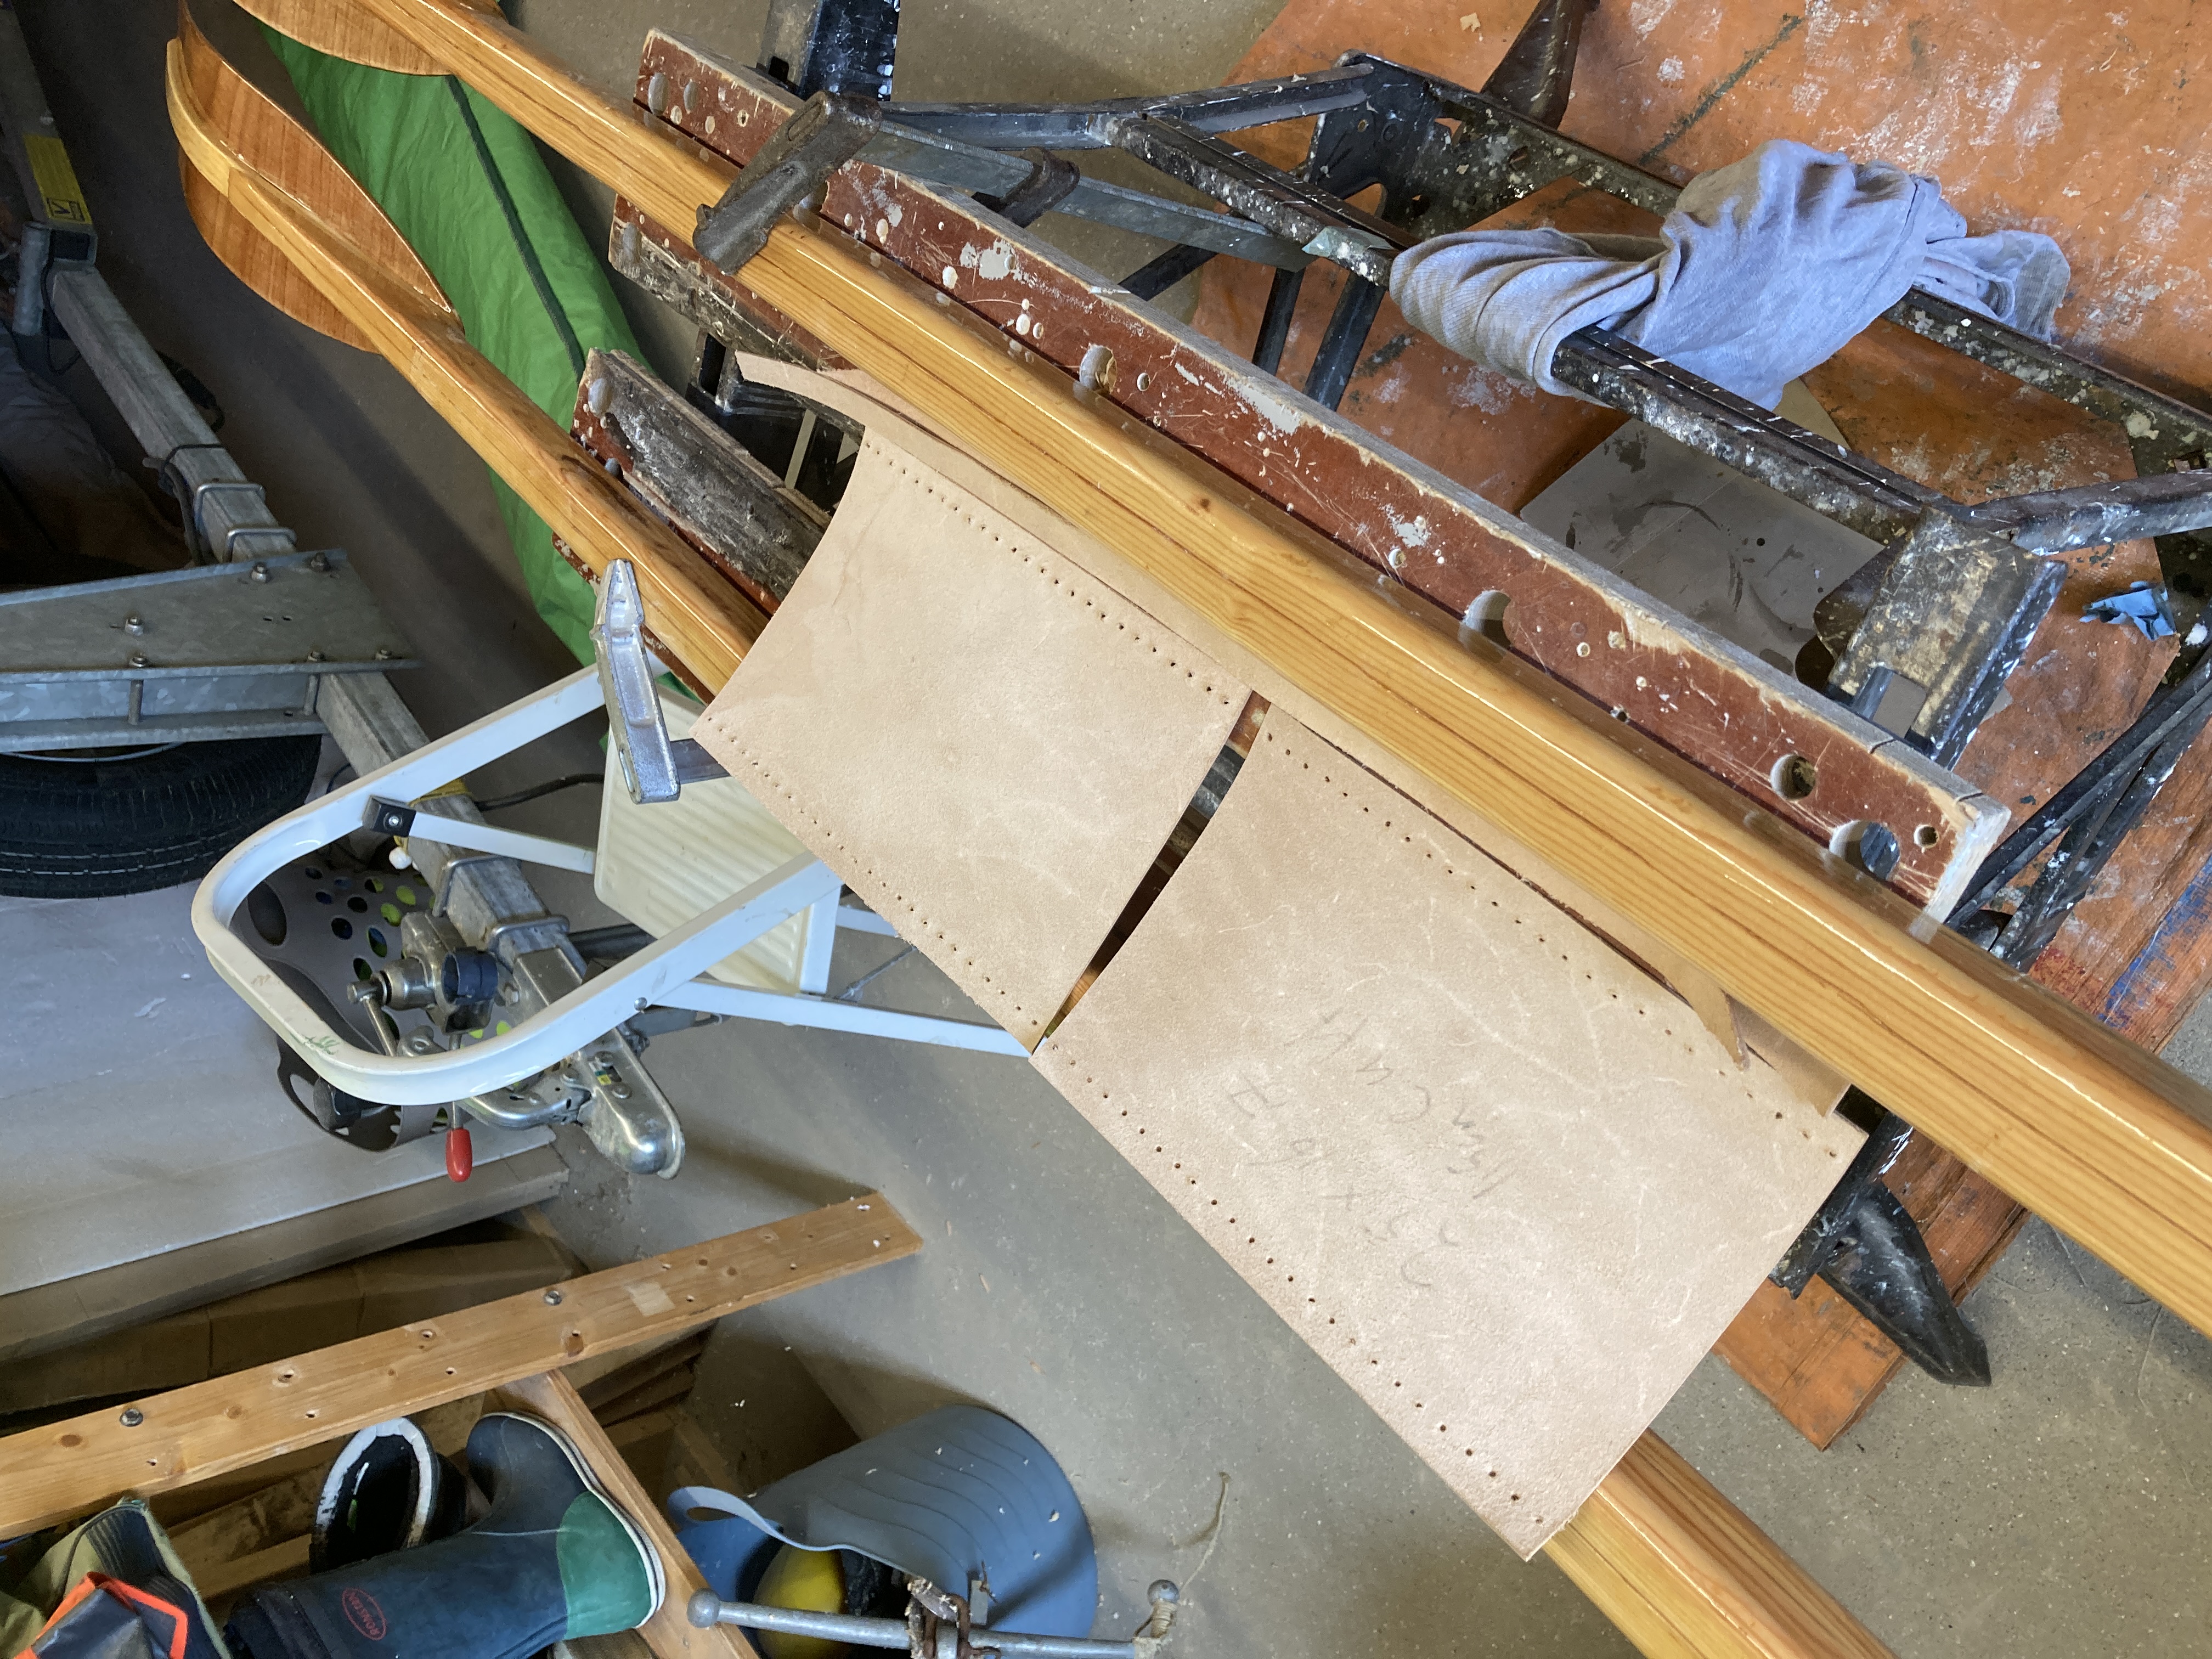 Leather for the oars. 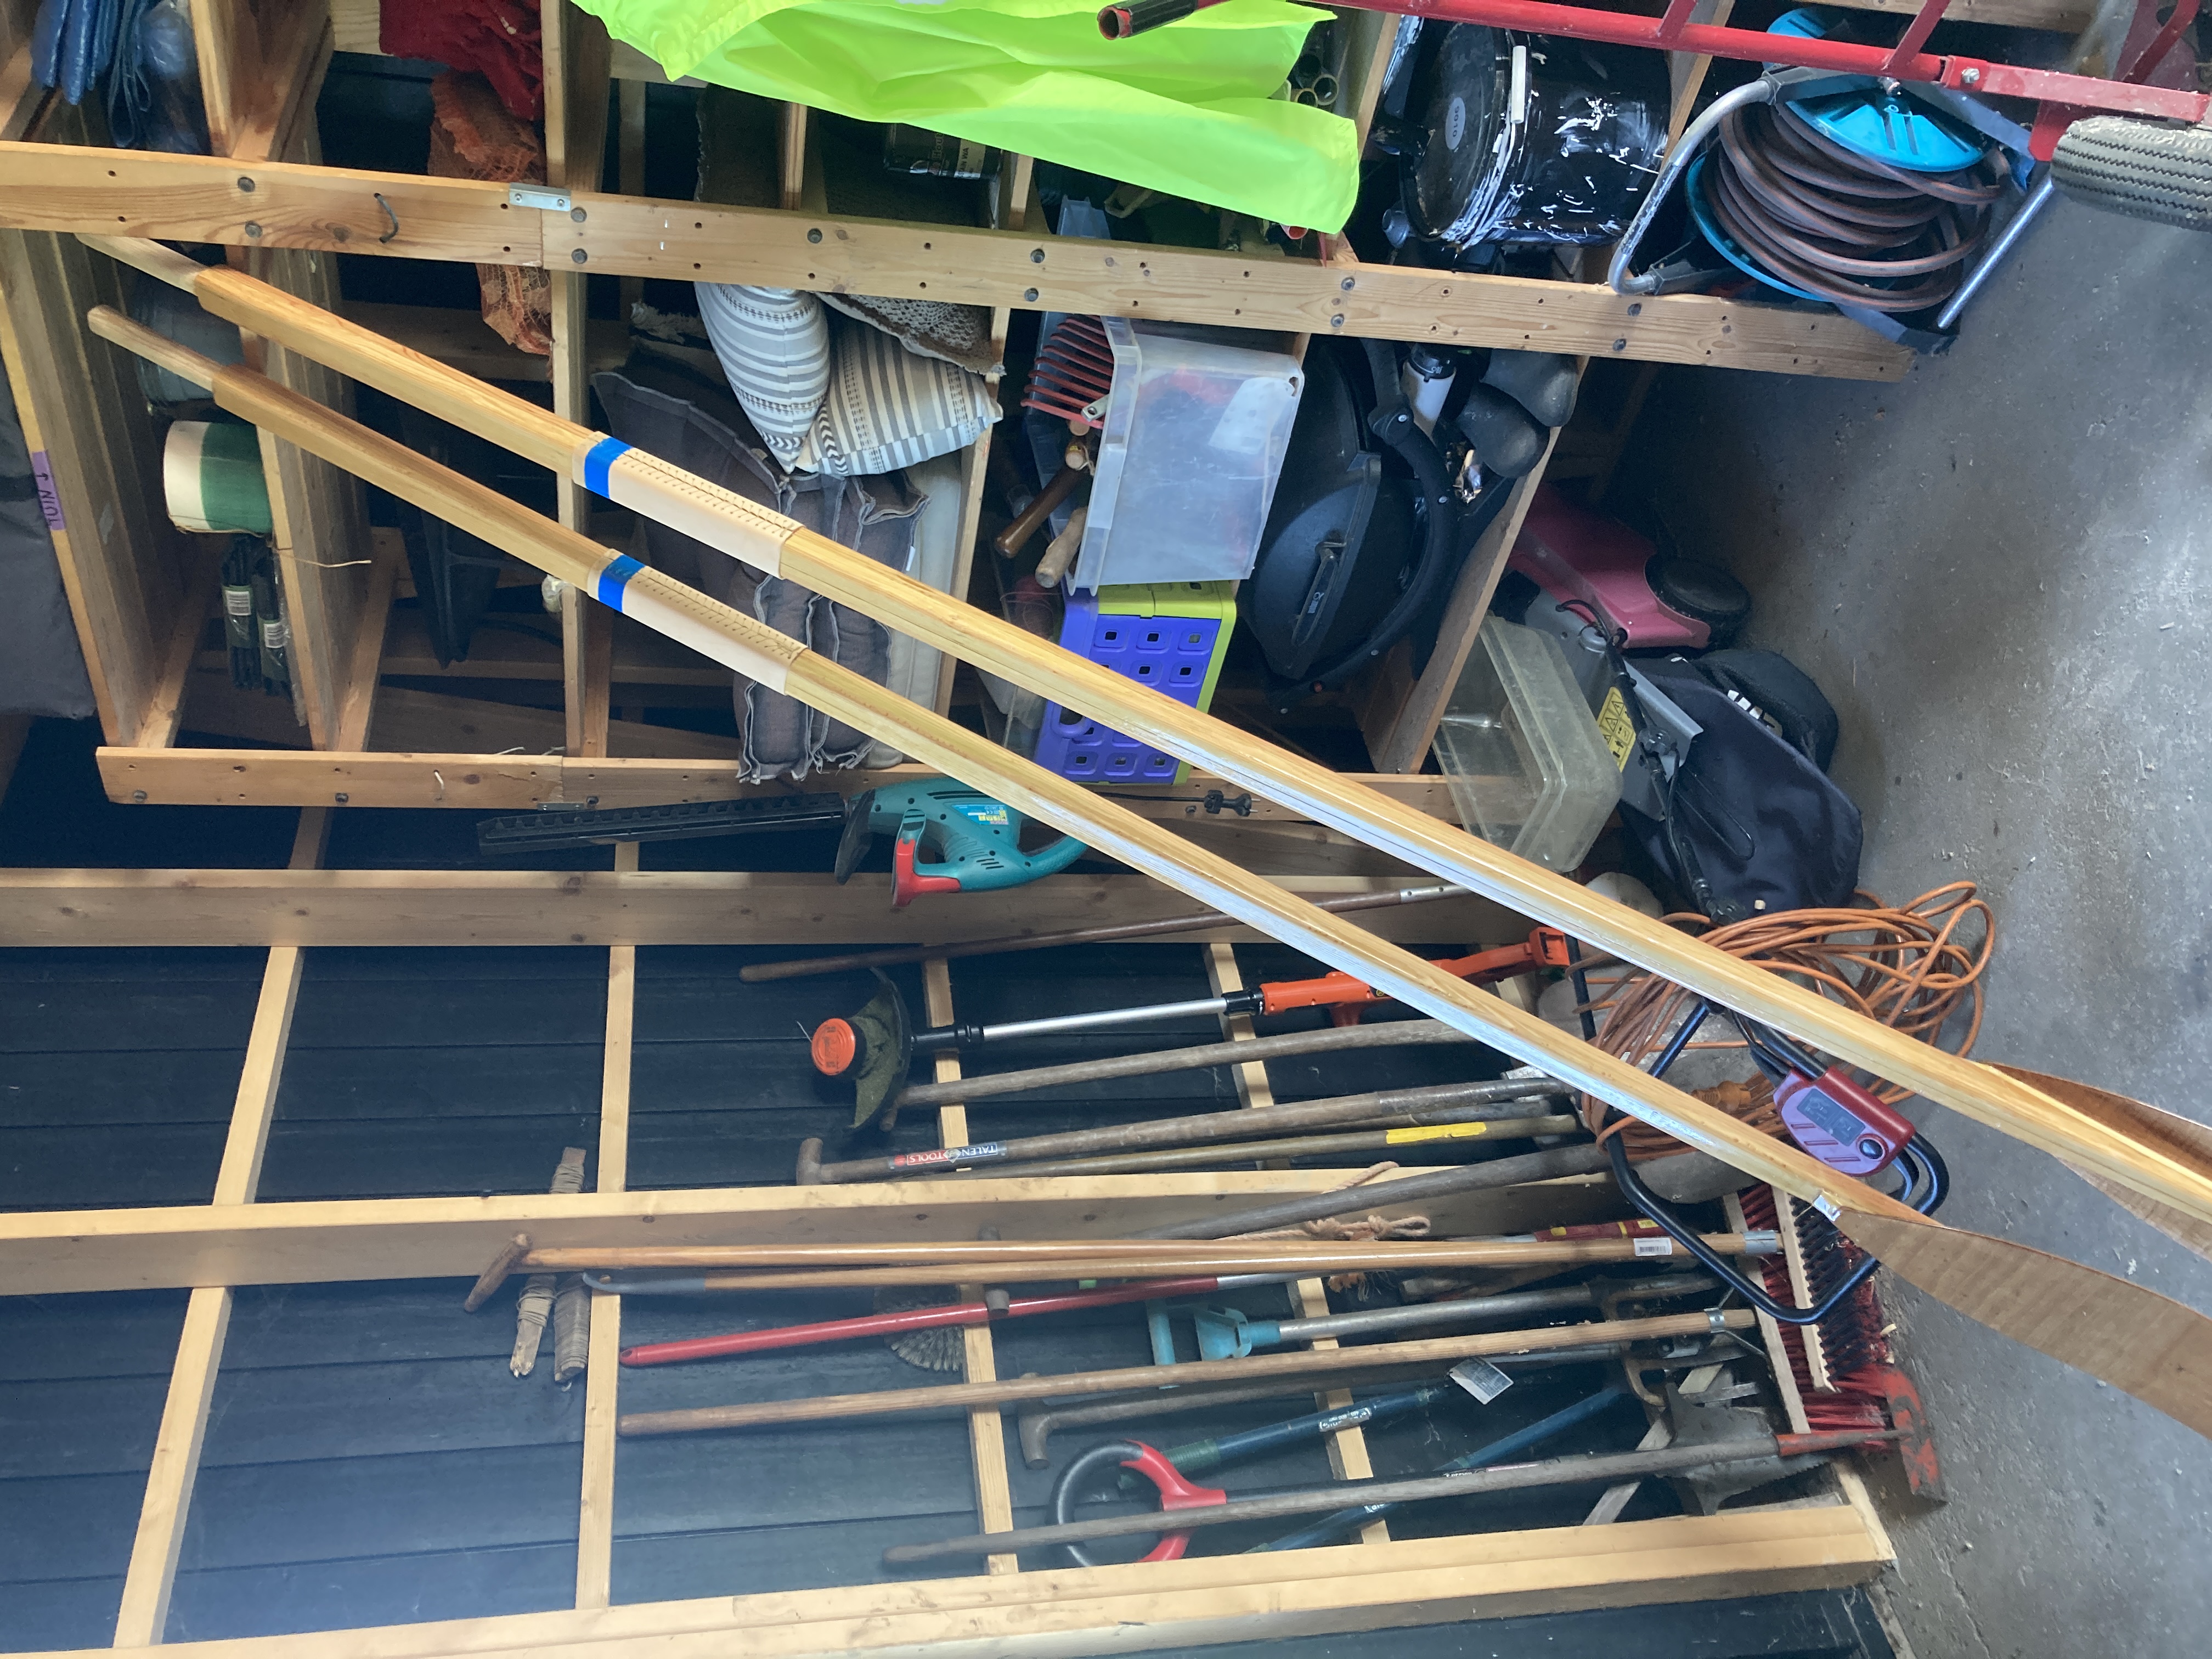 Oars with leathers ready for adding the buttons. 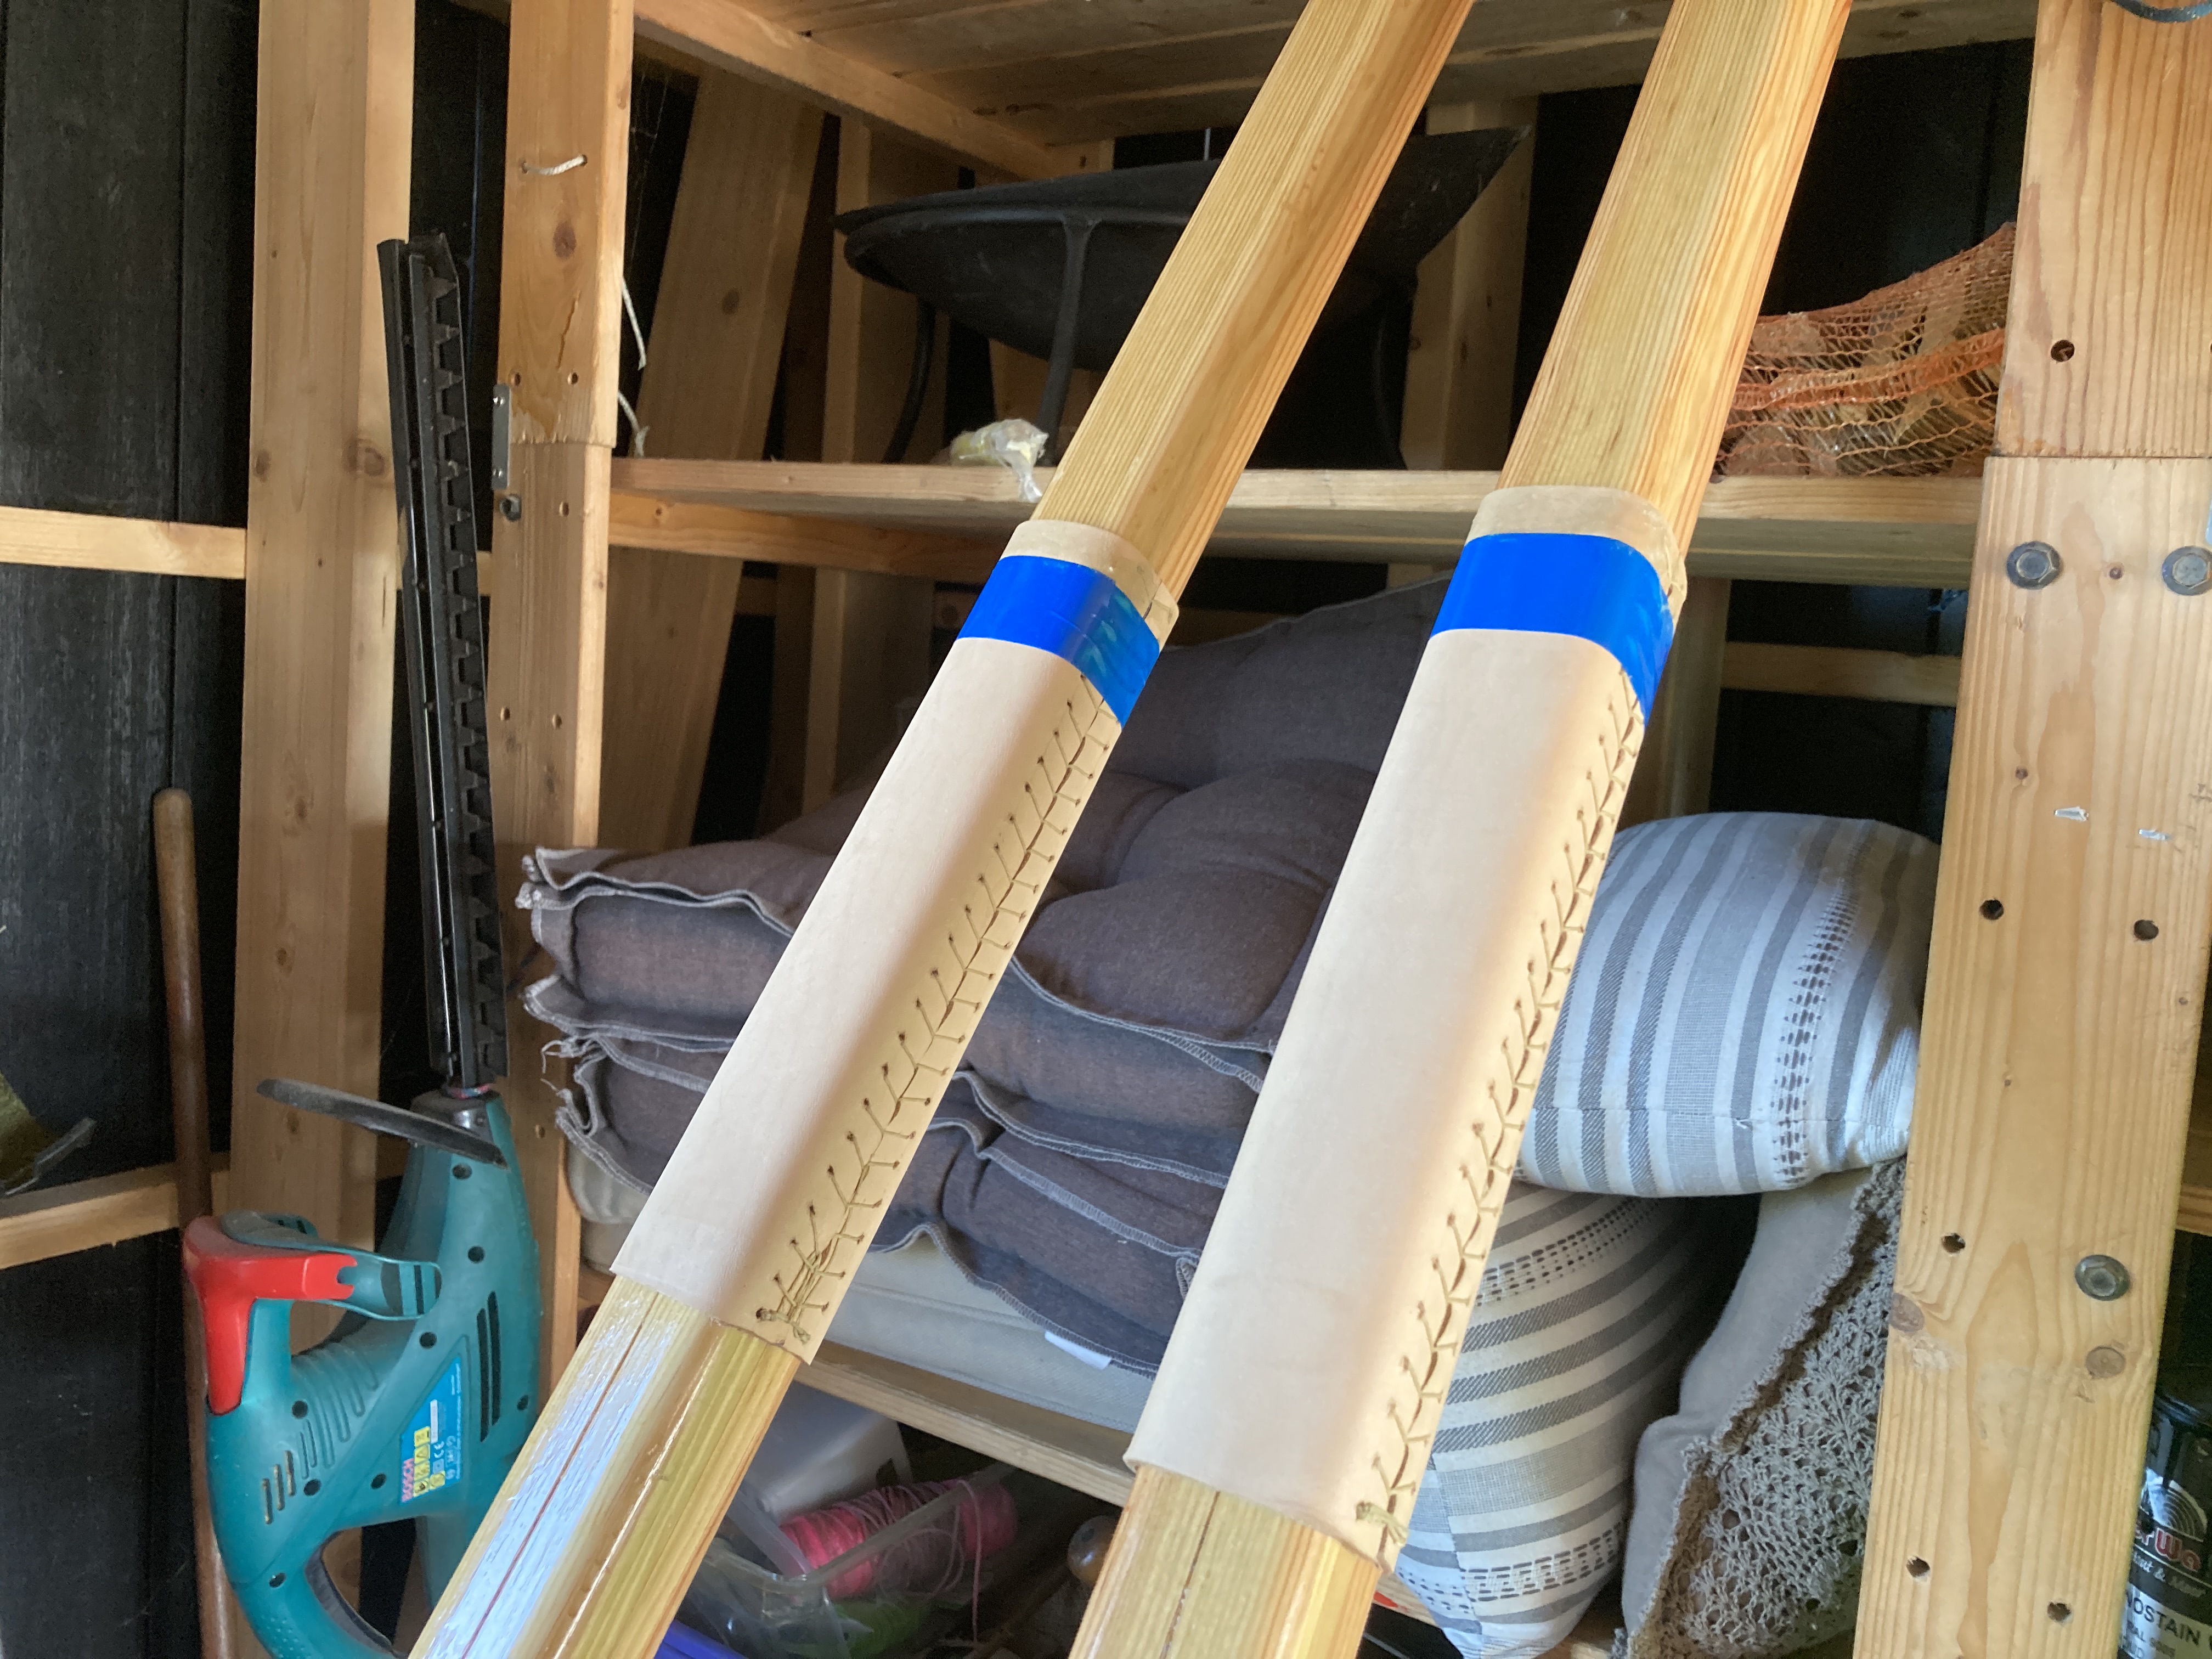 Leather details with stitching on the upside. 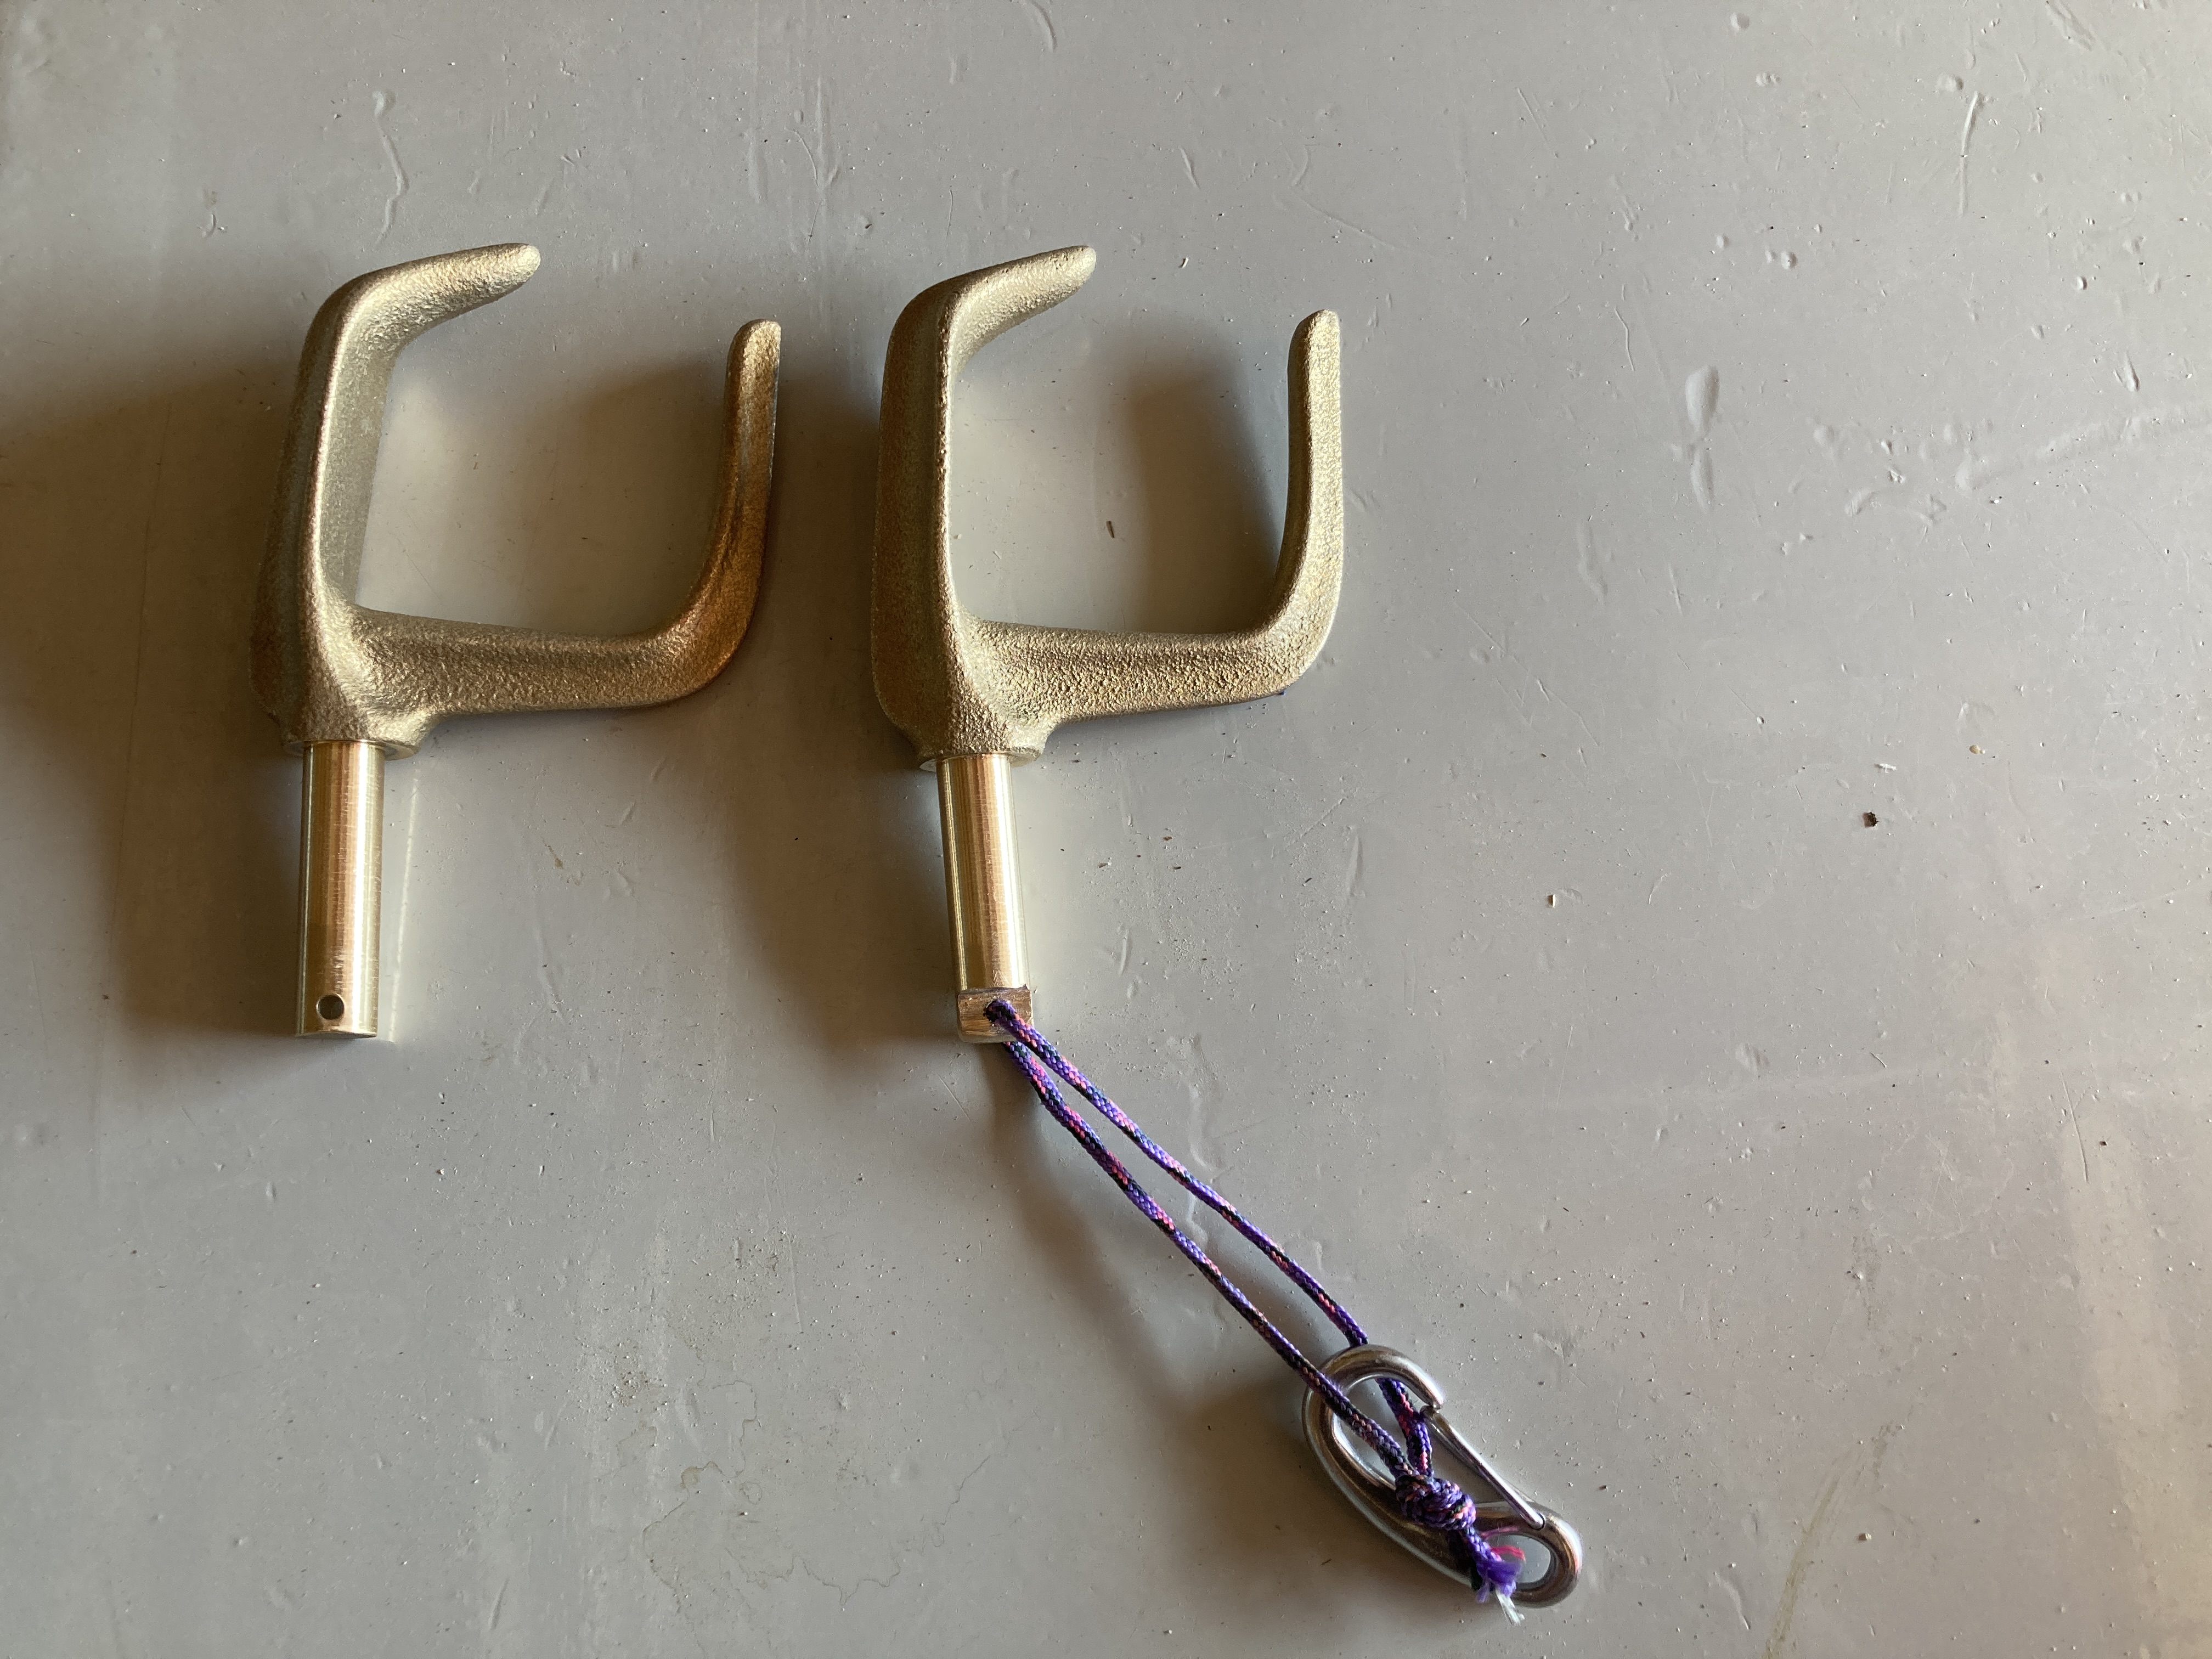 Oarlocks modified for retainer line. 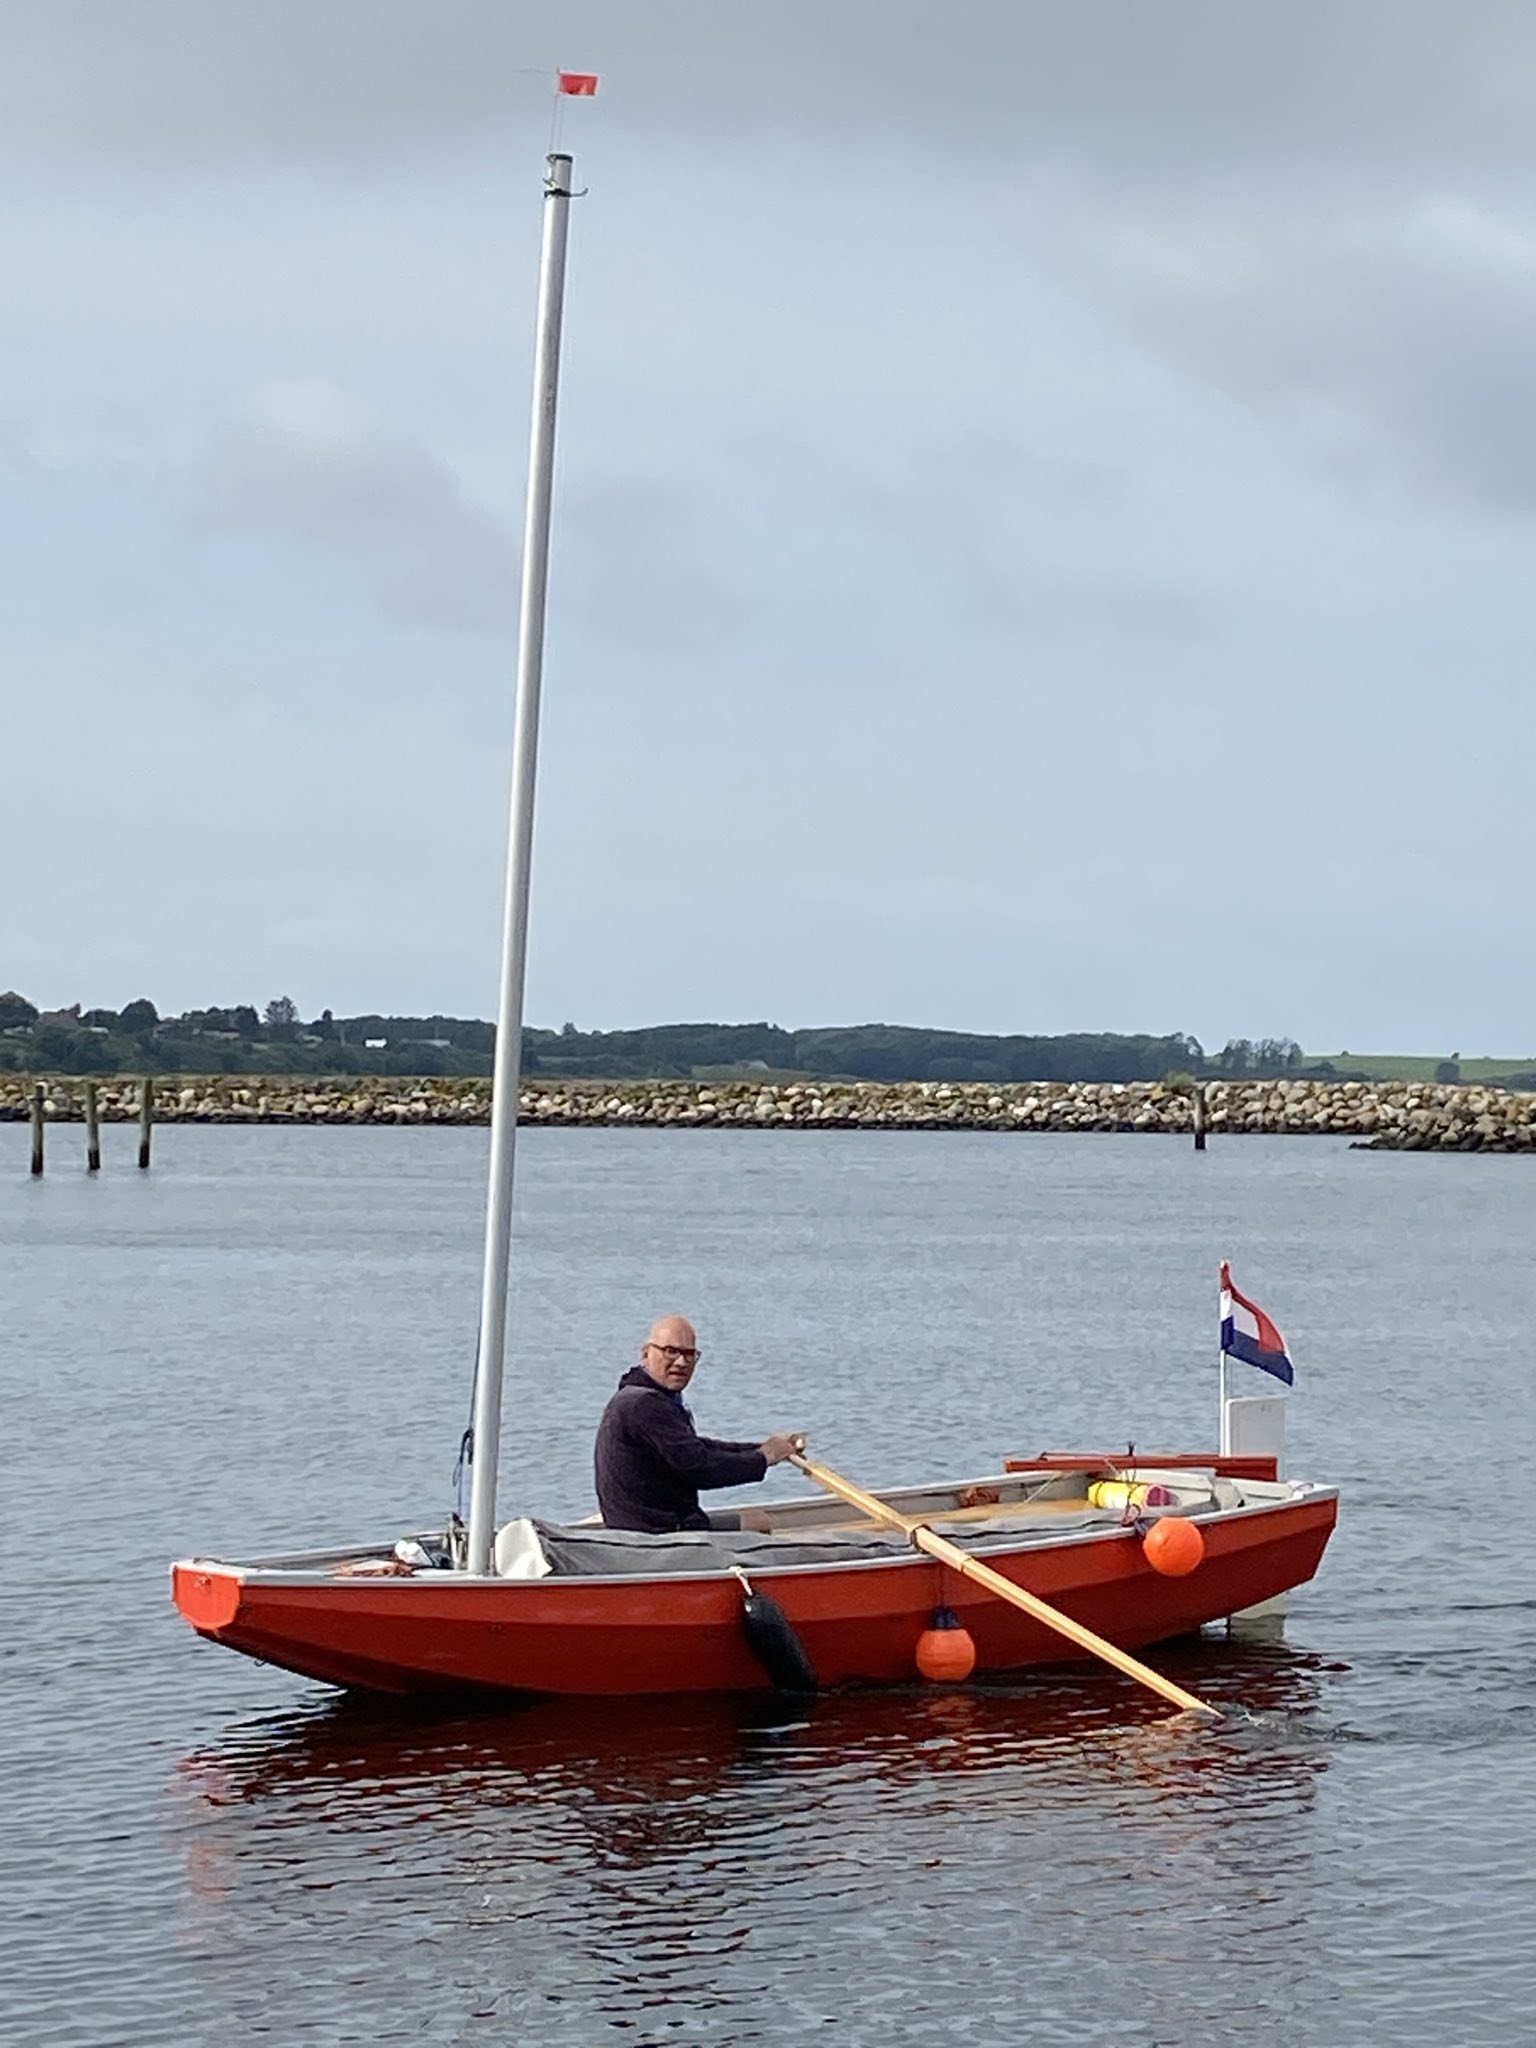 Rowing around in the marina of Struer. Photo Vincent |